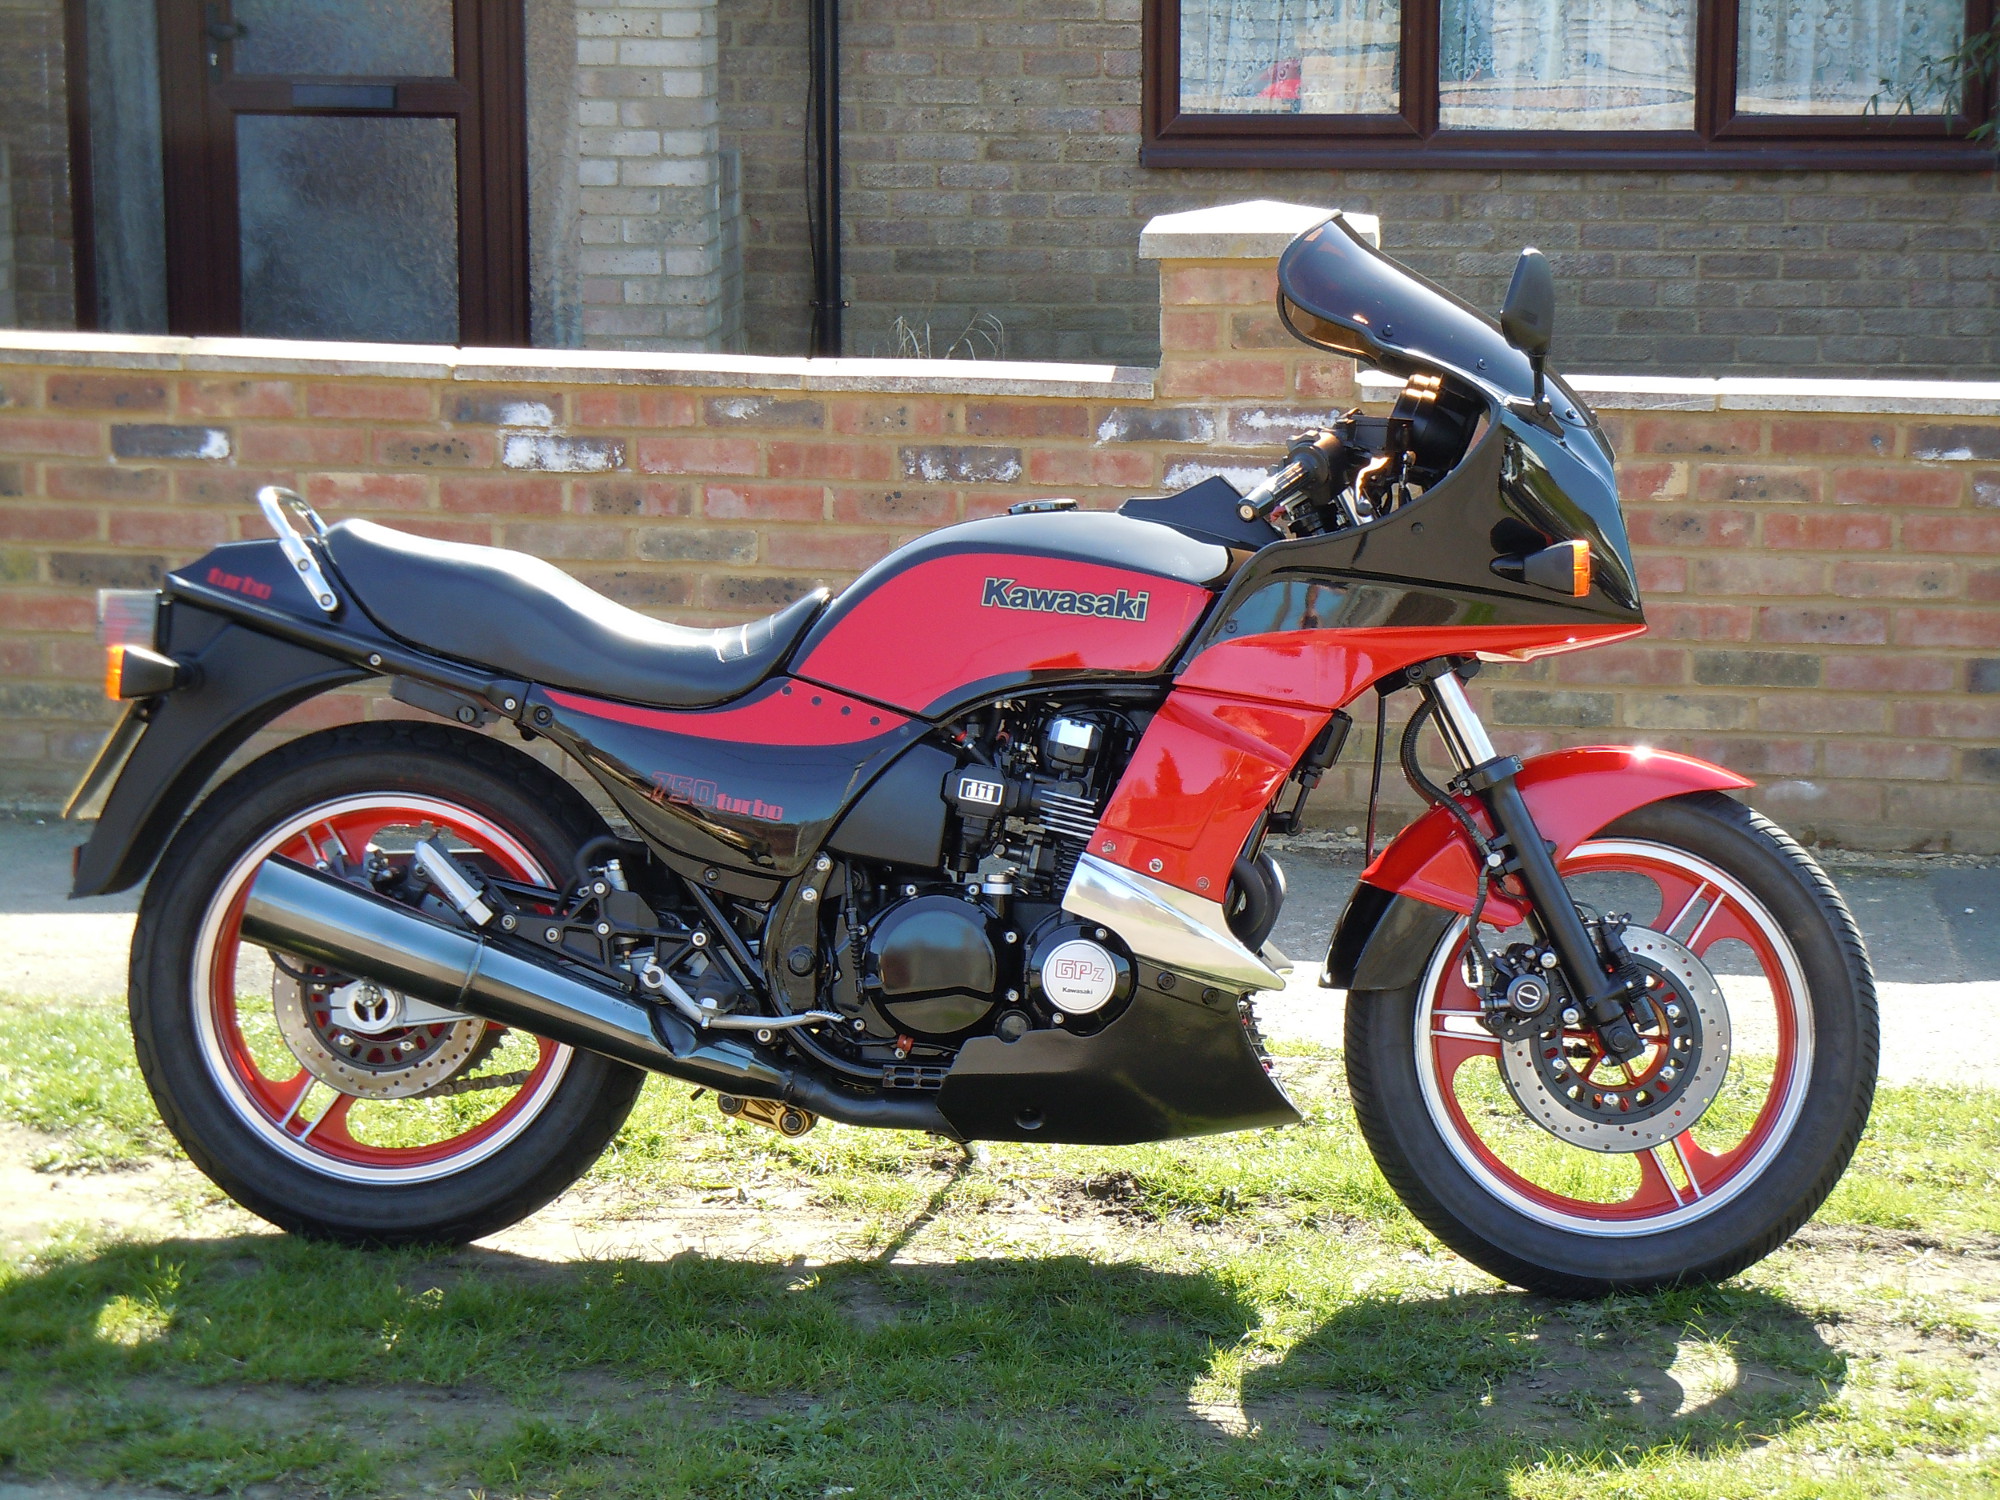
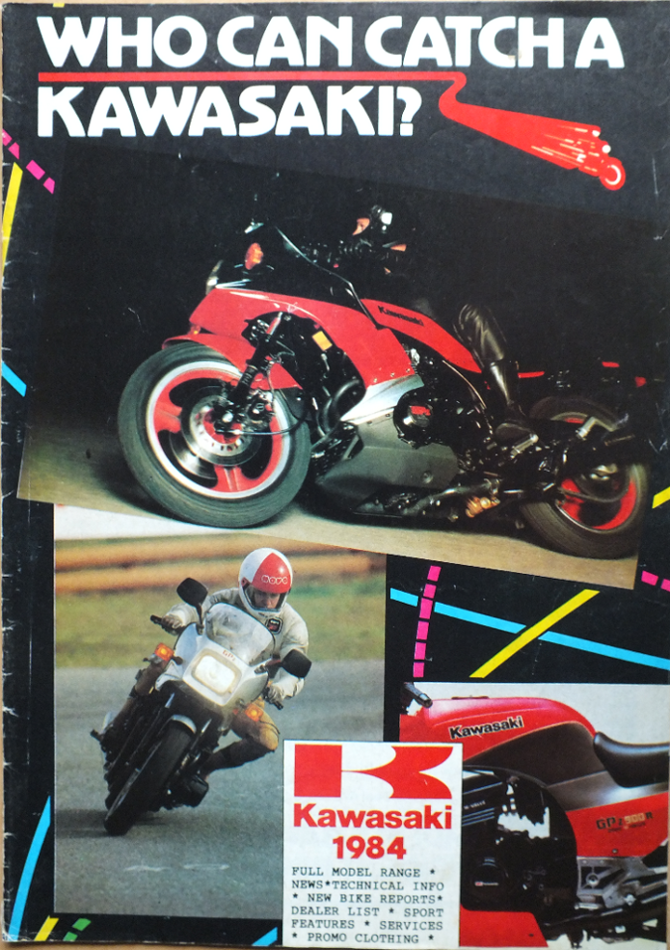
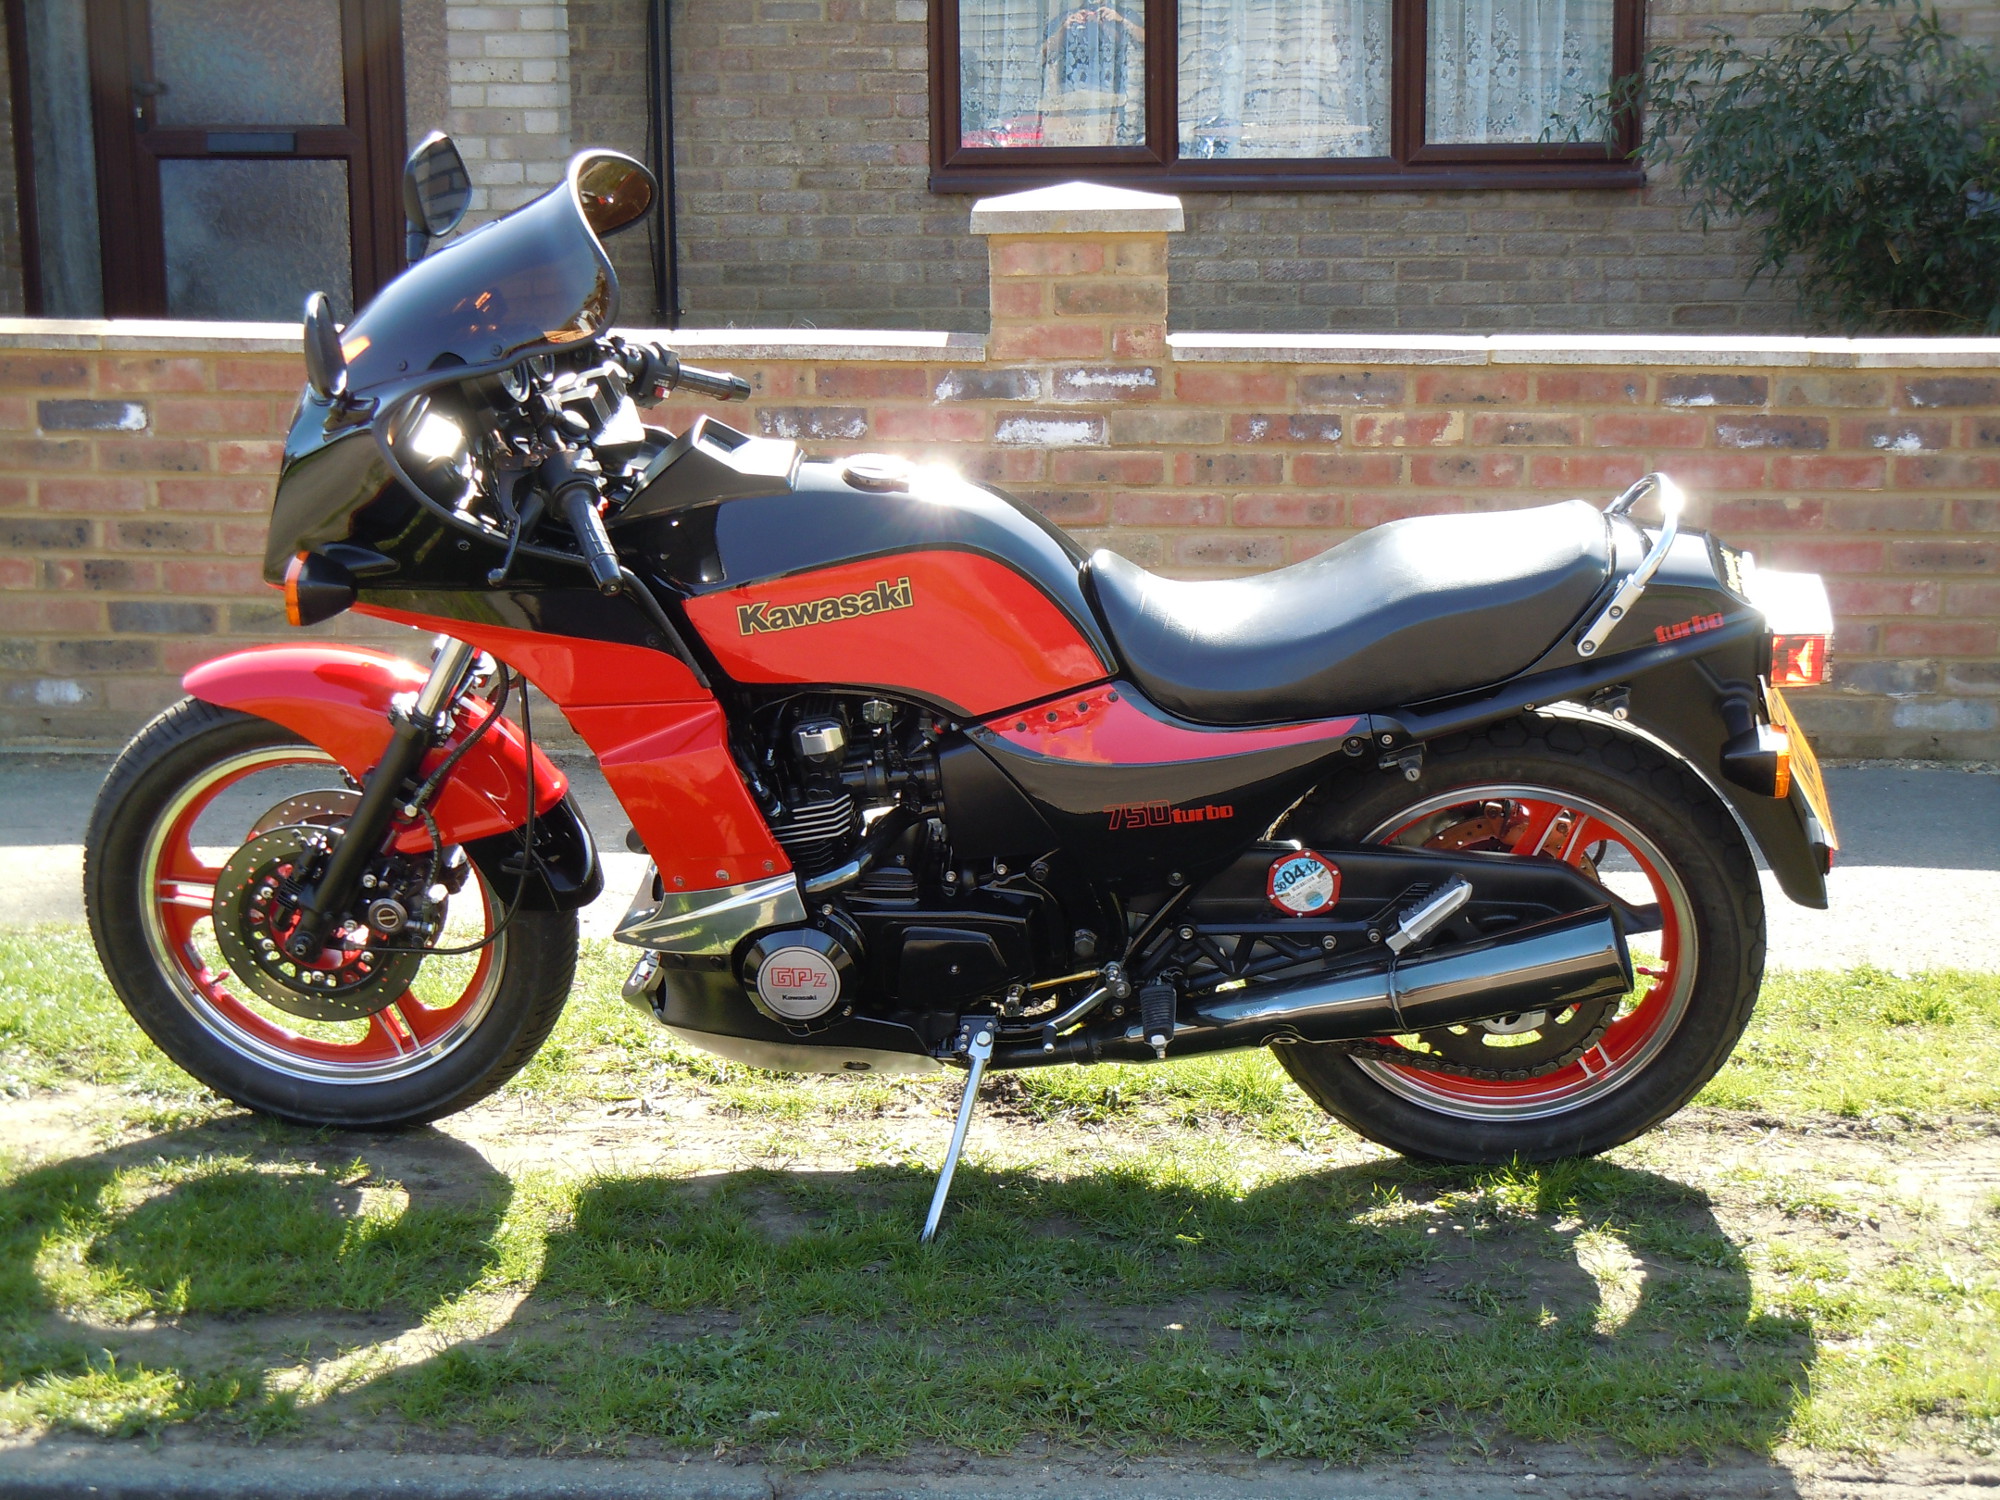
WHO CAN CATCH A KAWASAKI? screamed the cover of Kawasaki’s 1984 range brochure and racing across that cover was a Kawasaki Z750 Turbo looking pretty much just like the magnificent example above. Resplendent in its two-tone Ebony/Firecracker Red livery, with gloss black engine and black chrome exhausts, this 1984 ZX750-E1 model looks box-fresh and ready to go.
A technological showcase
The Z750 Turbo wasn’t Kawasaki’s first foray into turbo-charging a motorcycle engine, the Z1-R TC pre-dates it by six years, but this time the package it was presented in was far more credible. Based on the GPz750, the engine’s internals were strengthened, and the chassis geometry and suspension characteristics were modified to cope with the extra power. The turbocharger itself was a more compact Hitachi unit mounted directly in front of the exhaust ports, thus virtually eliminating turbo-lag, and was linked with Kawasaki’s Digital Fuel Injection (DFI) to improve power delivery and safety. Other features that we might take for granted today but which were considered cutting-edge at the time include anti-dive forks, single inflation point air-forks, engine oil cooler and eccentric-cam chain adjusters.
Kawasaki Z750 Turbo Specifications
| Model | ZX750-E1 |
| Production | 1983 - 1985 |
| Engine | 738cc turbo-charged four cylinder, four stroke, DOHC, DFI, transistorised ignition |
| Suspension | Front: air-adjustable tele-forks with anti-dive, 130mm travel Rear: Uni-trak, 105mm travel |
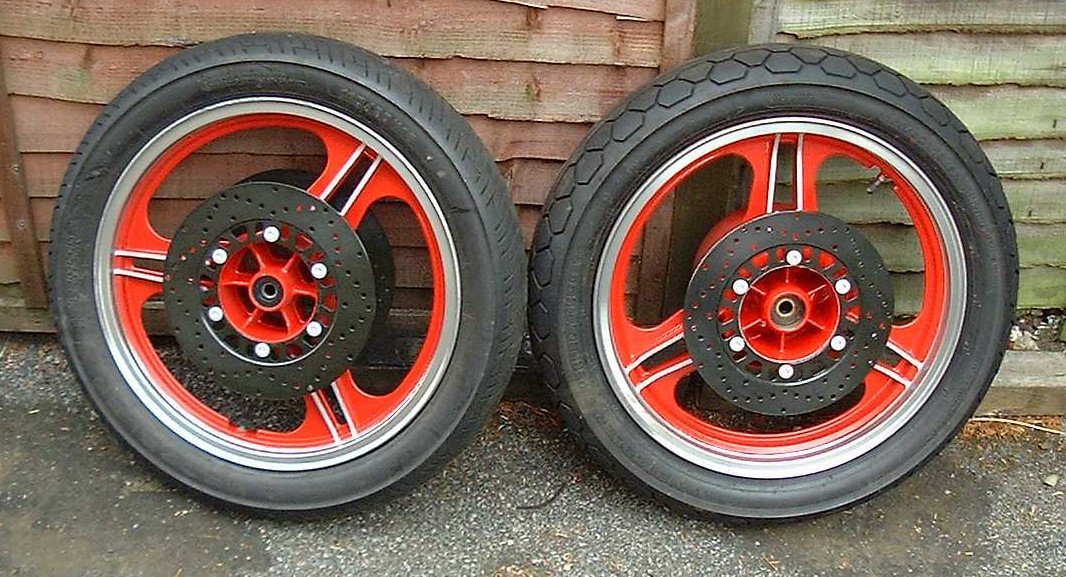
| Wheels | Front and rear: 18-inch, three spoke alloys, tubeless tyres |
| Brakes | Front: 280mm twin discs Rear: 270mm single disc |
| Wheelbase | 1,490mm |
| Seat height | 780mm |
| Weight (dry) | 233kg |
| Fuel capacity | 17 litres |
| Colours available | Two-tone Ebony/Firecracker Red |
The road to restoration
This particular bike was bought by the current owner, Adrian Hull, in 1993 as an upgrade to his Kawasaki GPz550. After some initial fettling to get the bike running smoothly (fitting new piston rings to restore compression and replacing a non-standard exhaust system with the very last stock system from Kawasaki in order to solve an overheating issue) and some cosmetic work to the wheels, it served Adrian as a reliable ride until March 2000. Like many before and since, when redundancy left Adrian with more free time than he was accustomed to, his thoughts turned to carrying out a full restoration…something he’d not attempted before.
Engine
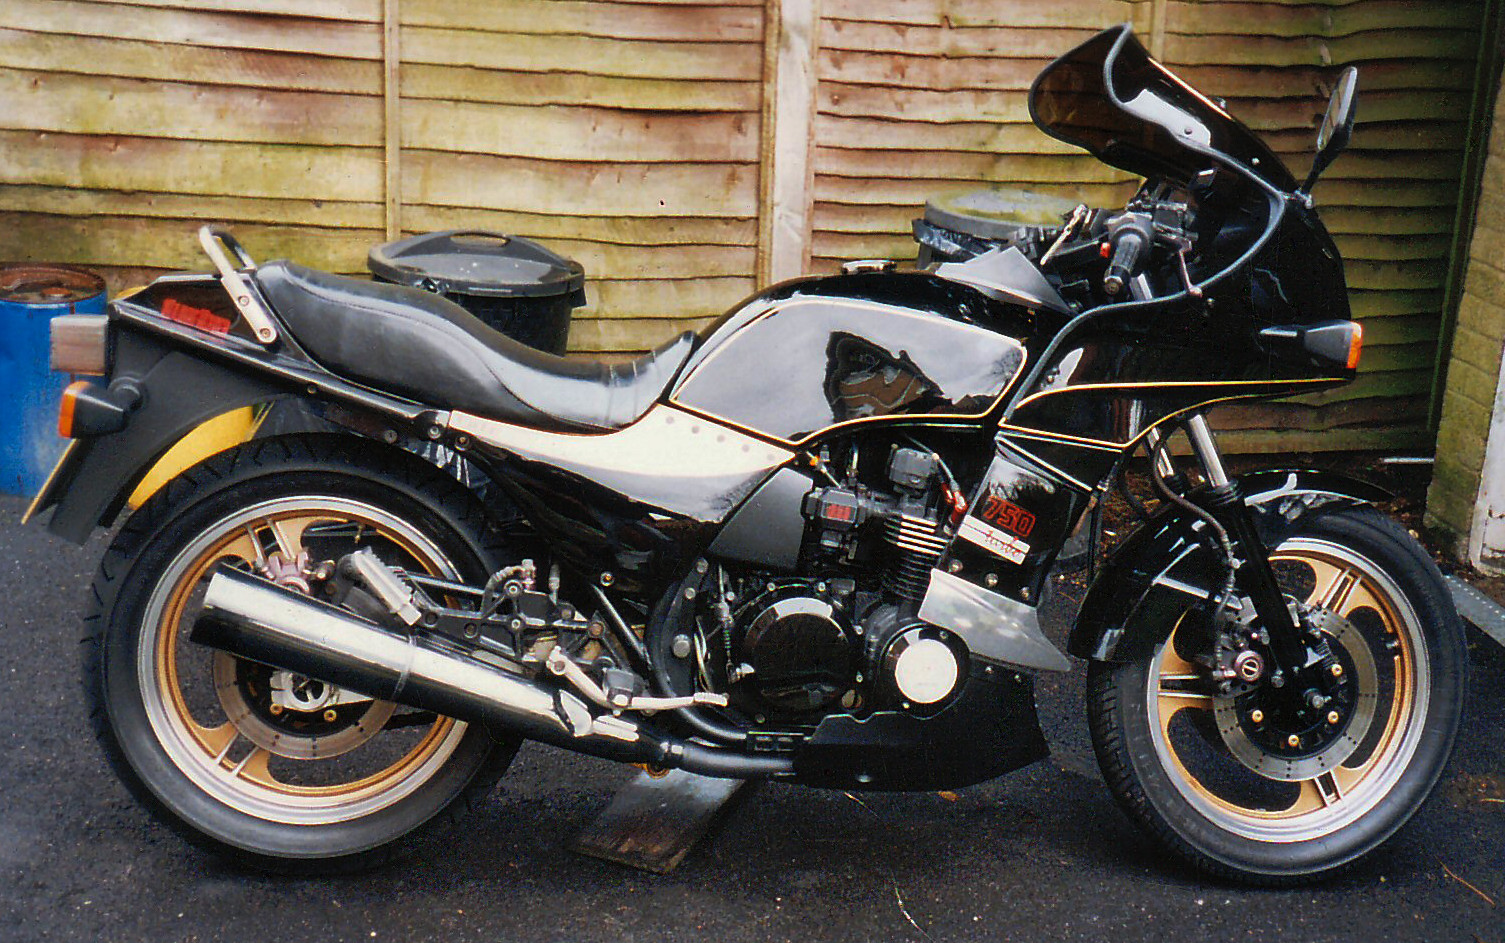
When Adrian bought the bike in 1993, it’s safe to say it hadn’t been dismantled since it left the factory nine years earlier and the picture below shows what horrors can lie beneath a shiny full-fairing.
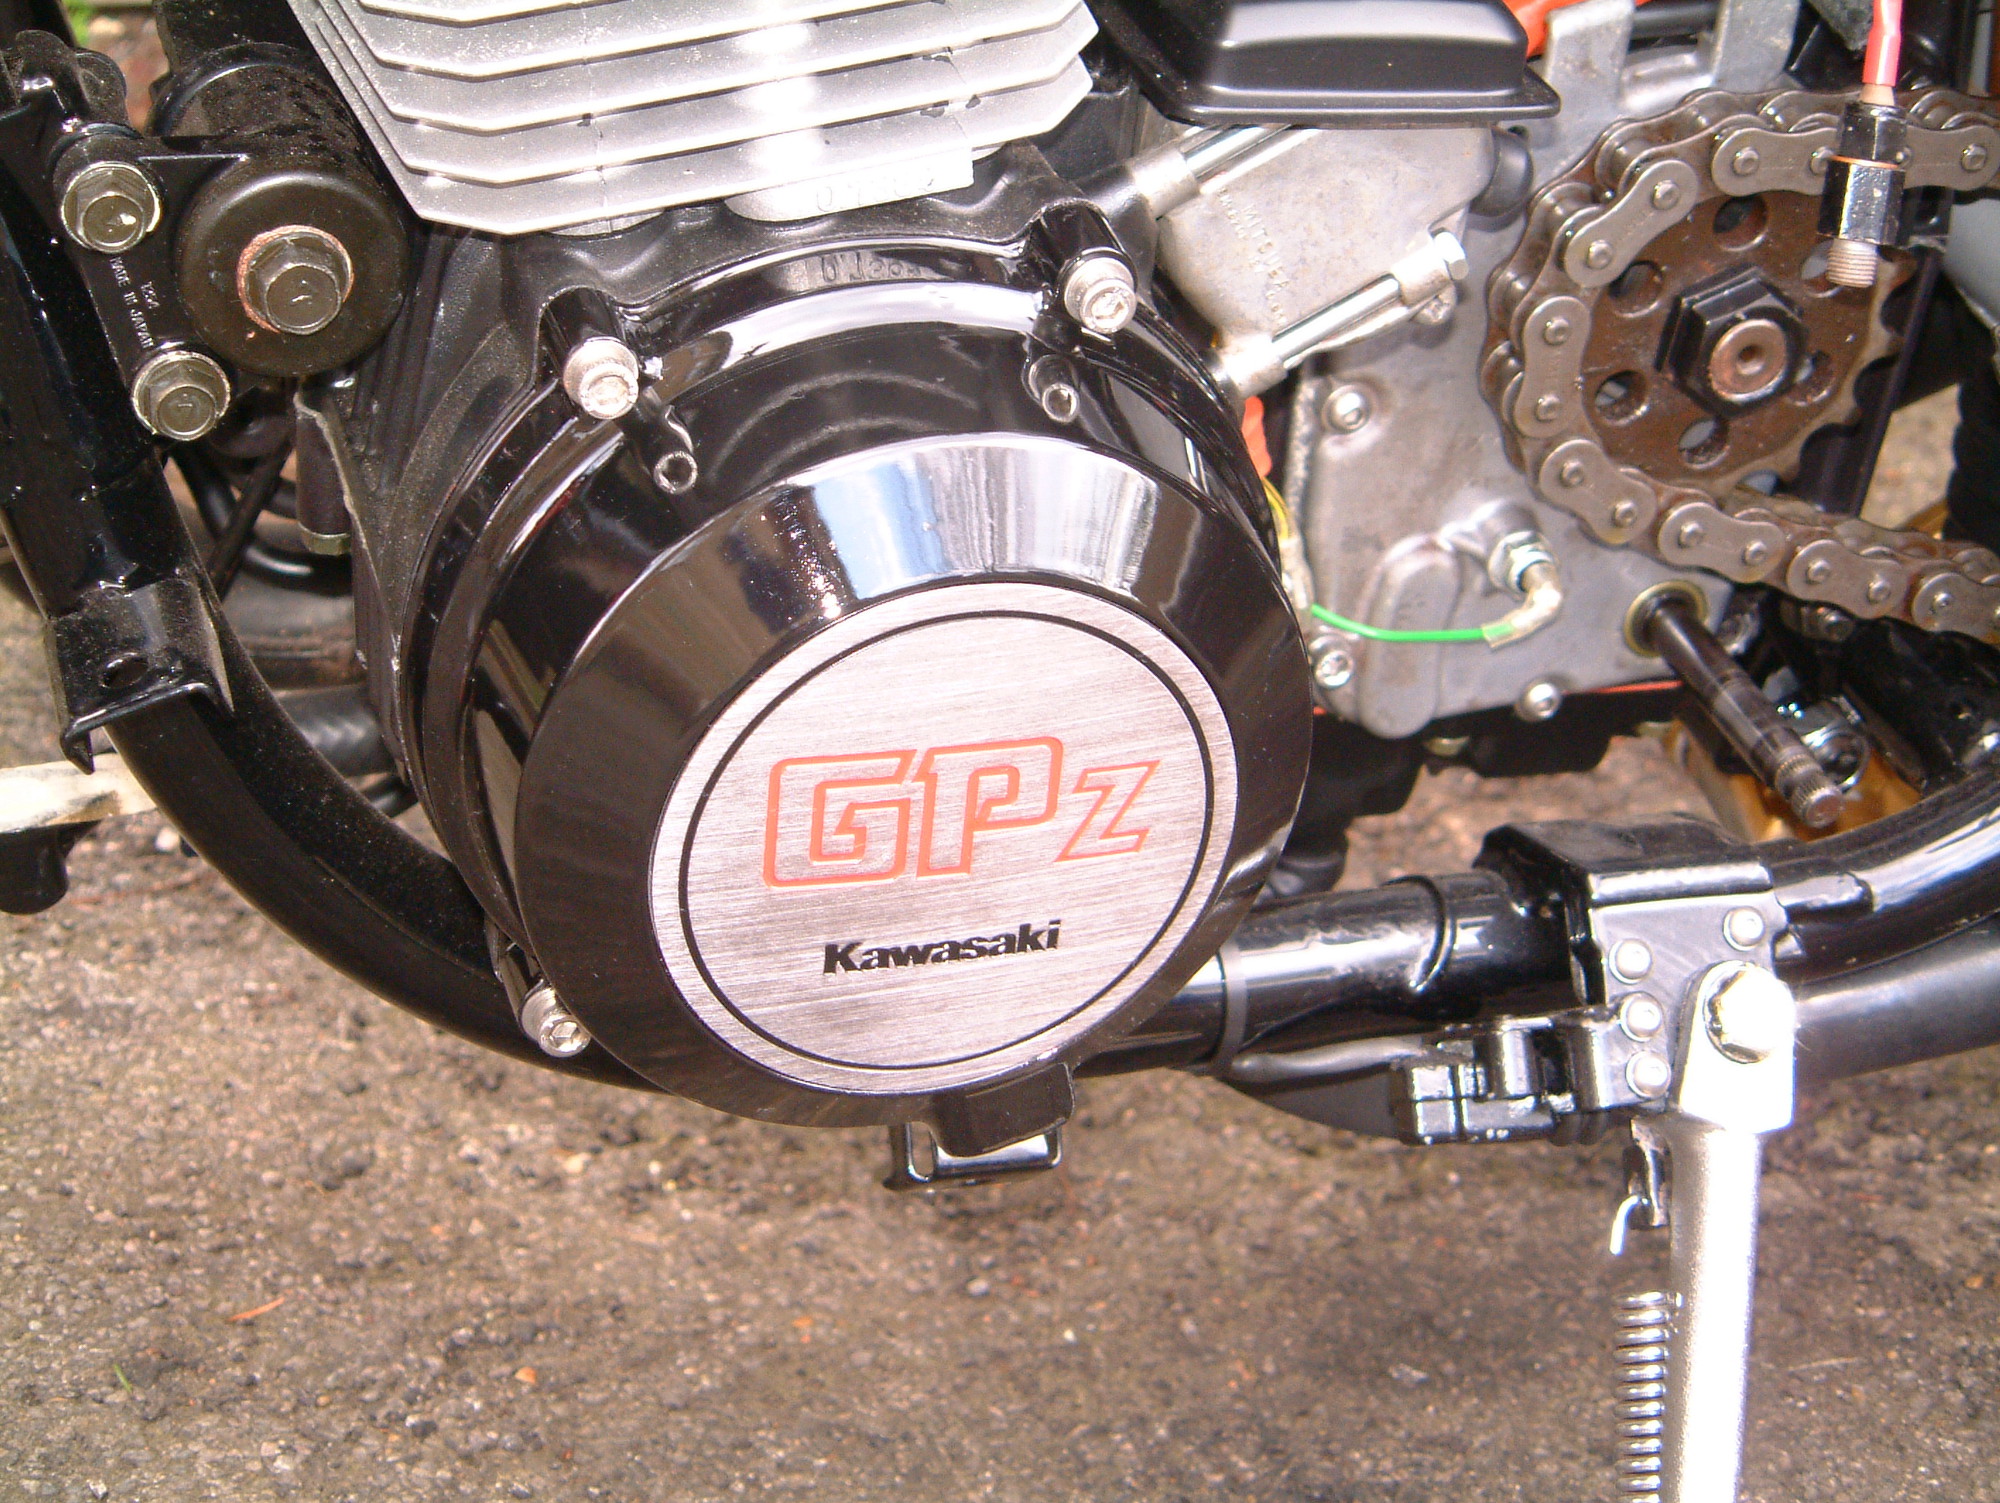
The first two weeks were spent stripping the bike down, including the engine which was going to be treated to a complete rebuild. Once fully dismantled, the engine cases and frame mounts were stripped back to bare metal and resprayed by Adrian.
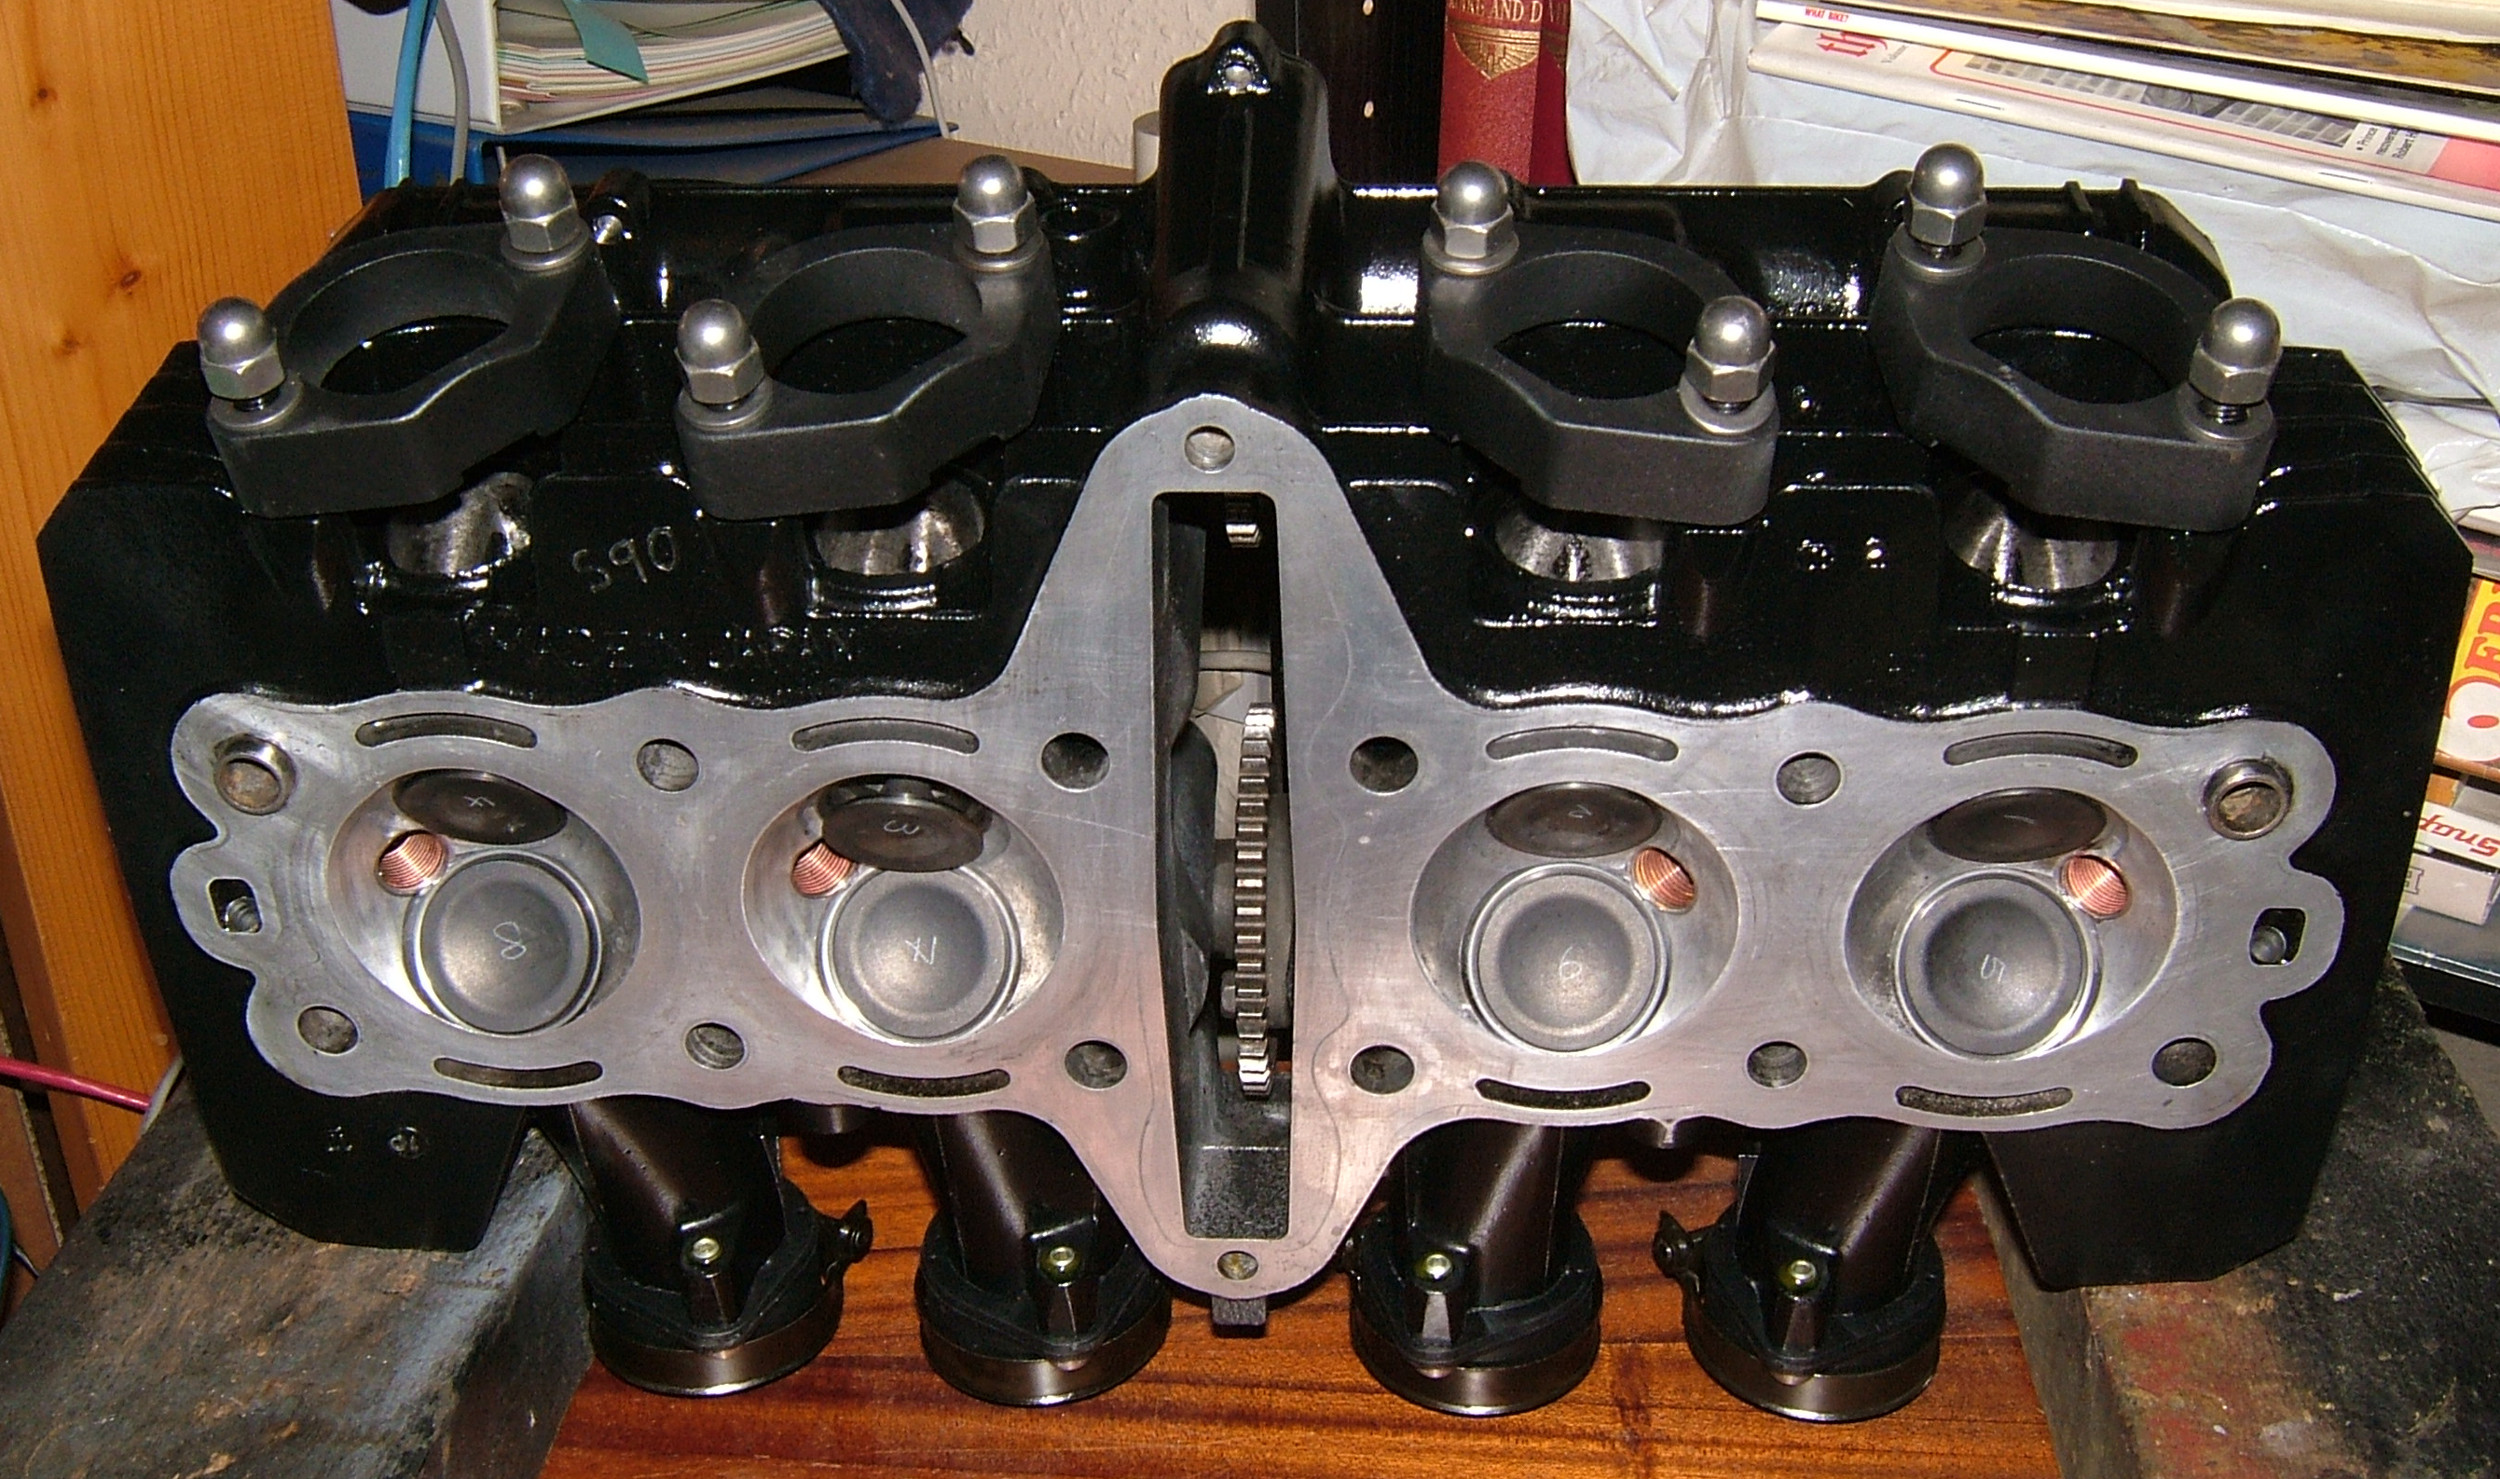
The cylinder head was reworked by Cylinder Head Shop who fitted new valves and K-Line valve guides, and ported, flowed and balanced the head to compensate for the extra gas flow that would result from the planned turbo upgrade.
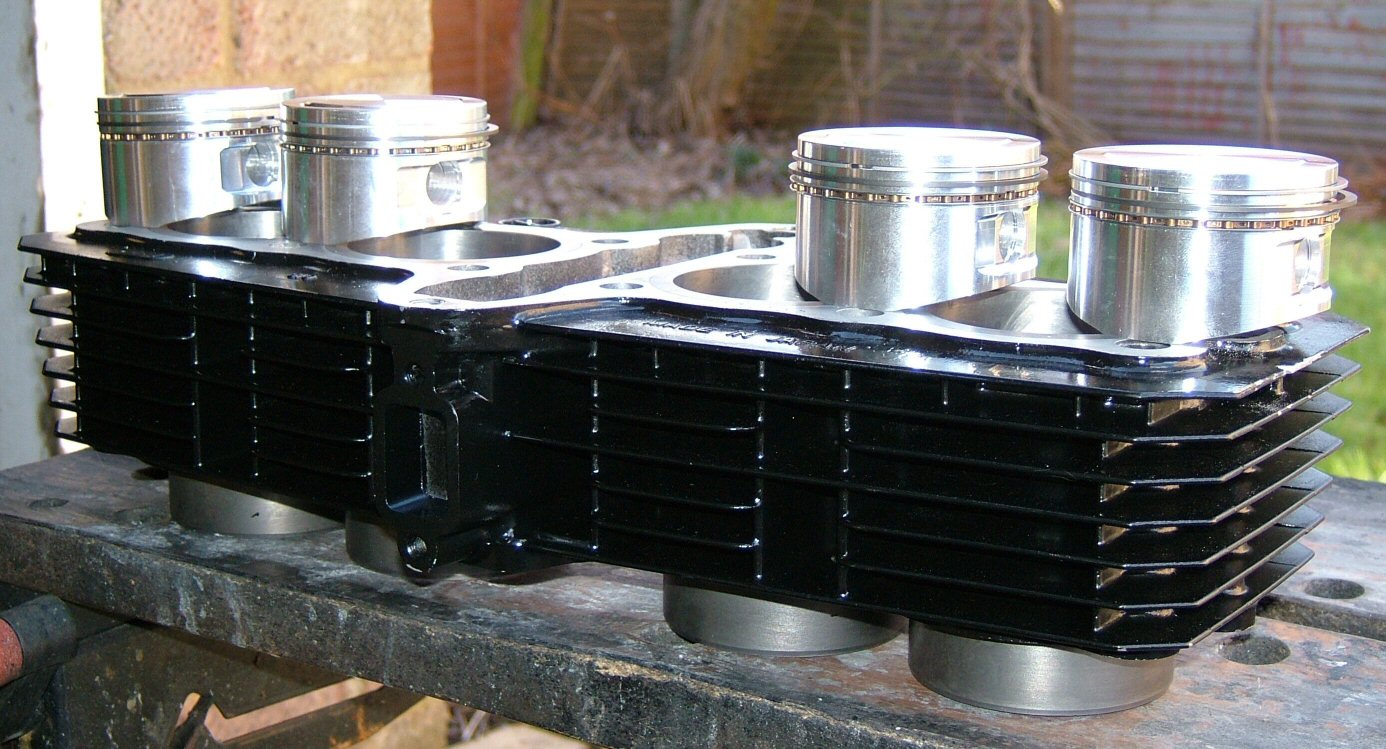
The cylinder block was machined oversize (to Kawasaki limits) by TTS Performance and JE pistons were made-to-order from a higher silicon compound, drop-forged aluminium.
The turbocharger was overhauled by Universal Turbos who used a replacement core from a Mitsubishi L200 and re-machined the scroll housing profiles to suit its new installation. The waste gate was also set to Kawasaki’s high limit of 10psi to accommodate the additional capacity from the oversize barrels (now 762cc).
The result of all this engine fettling is an increase in peak power from 111bhp (112hp) to 133bhp (135hp) – an impressive increase of nearly 19 per cent!
Chassis, suspension & bodywork
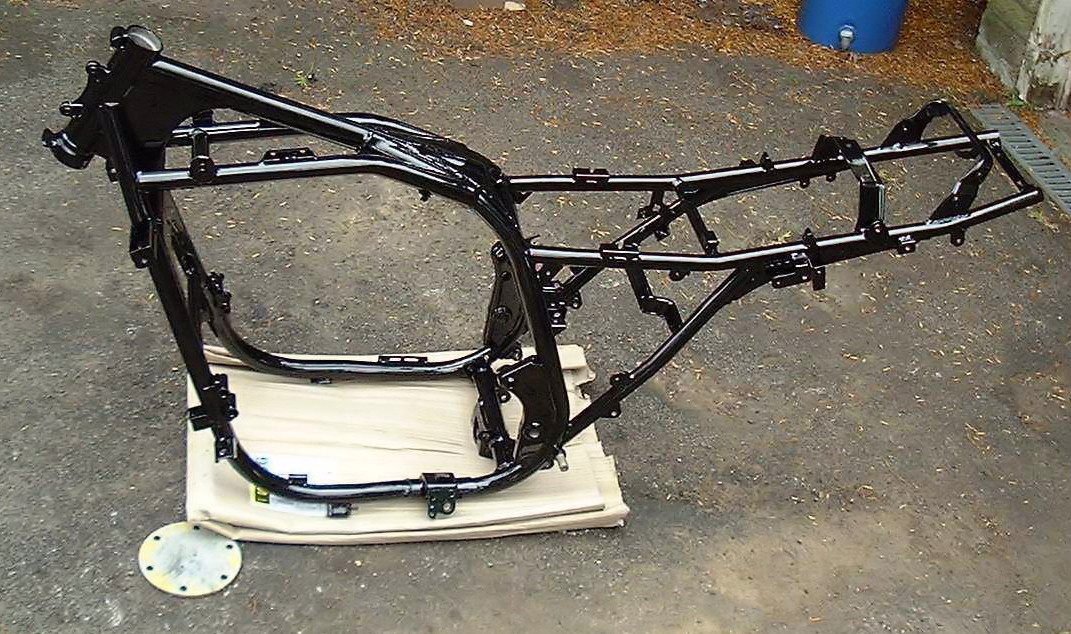
The restoration of the chassis began with stripping and powder-coating of the frame by Triple-S whilst the wheels were stripped and resprayed by Adrian.
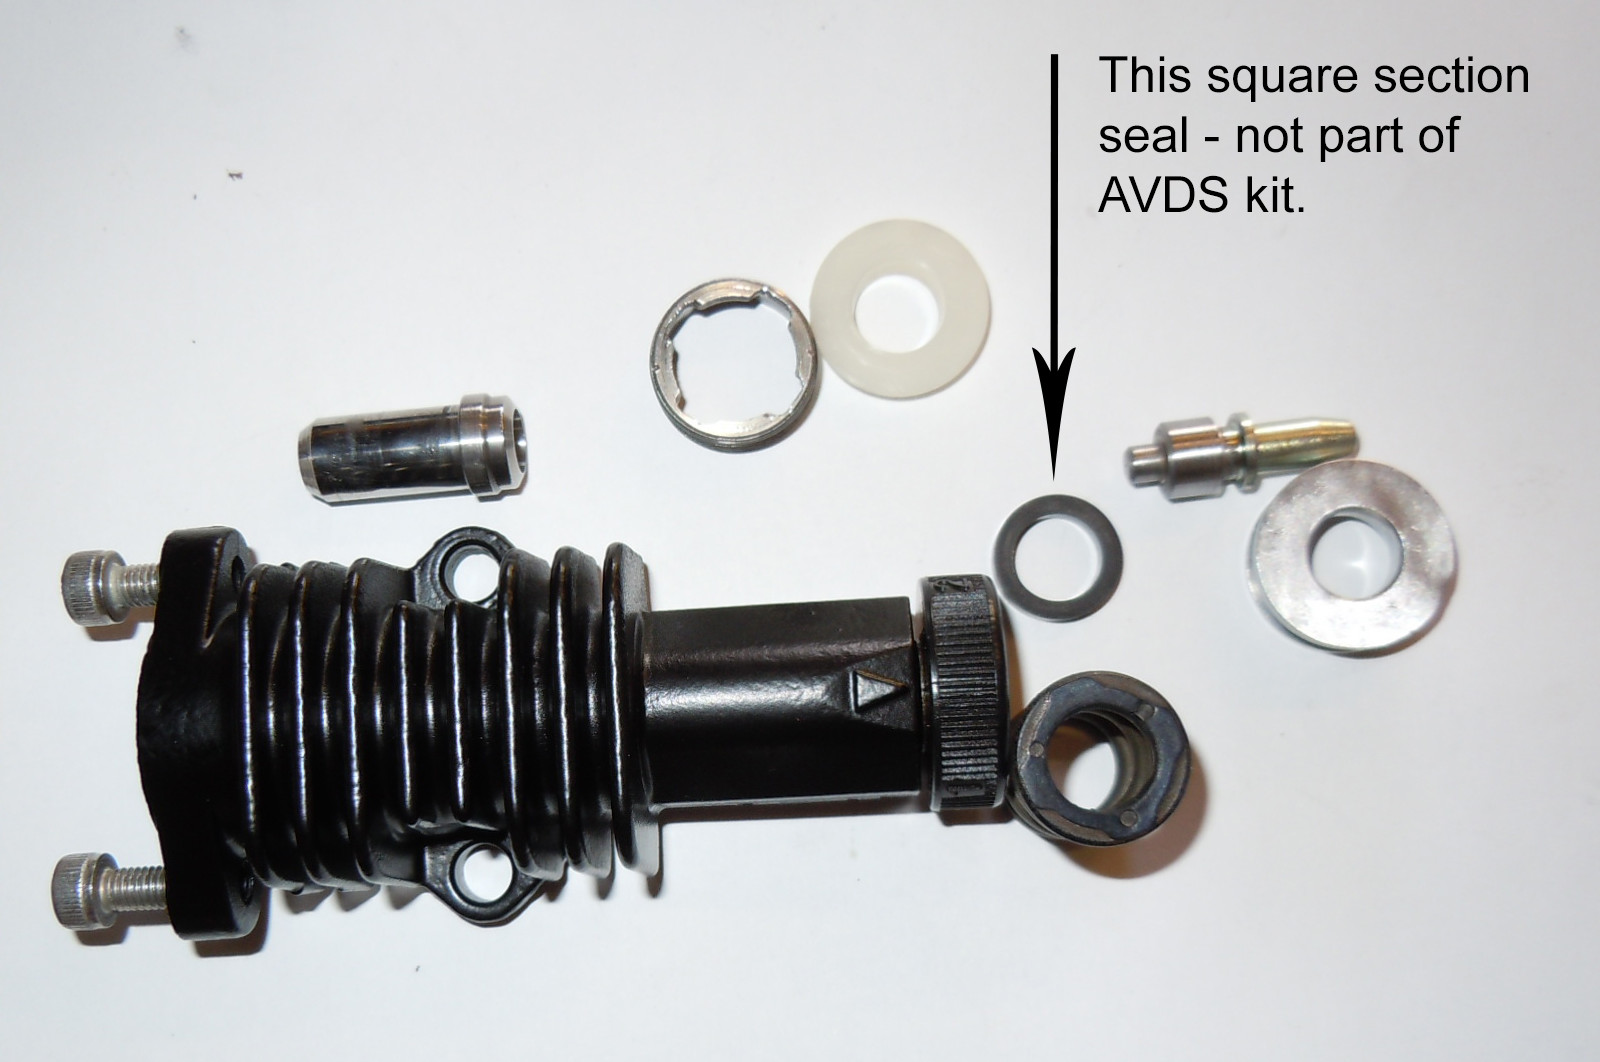
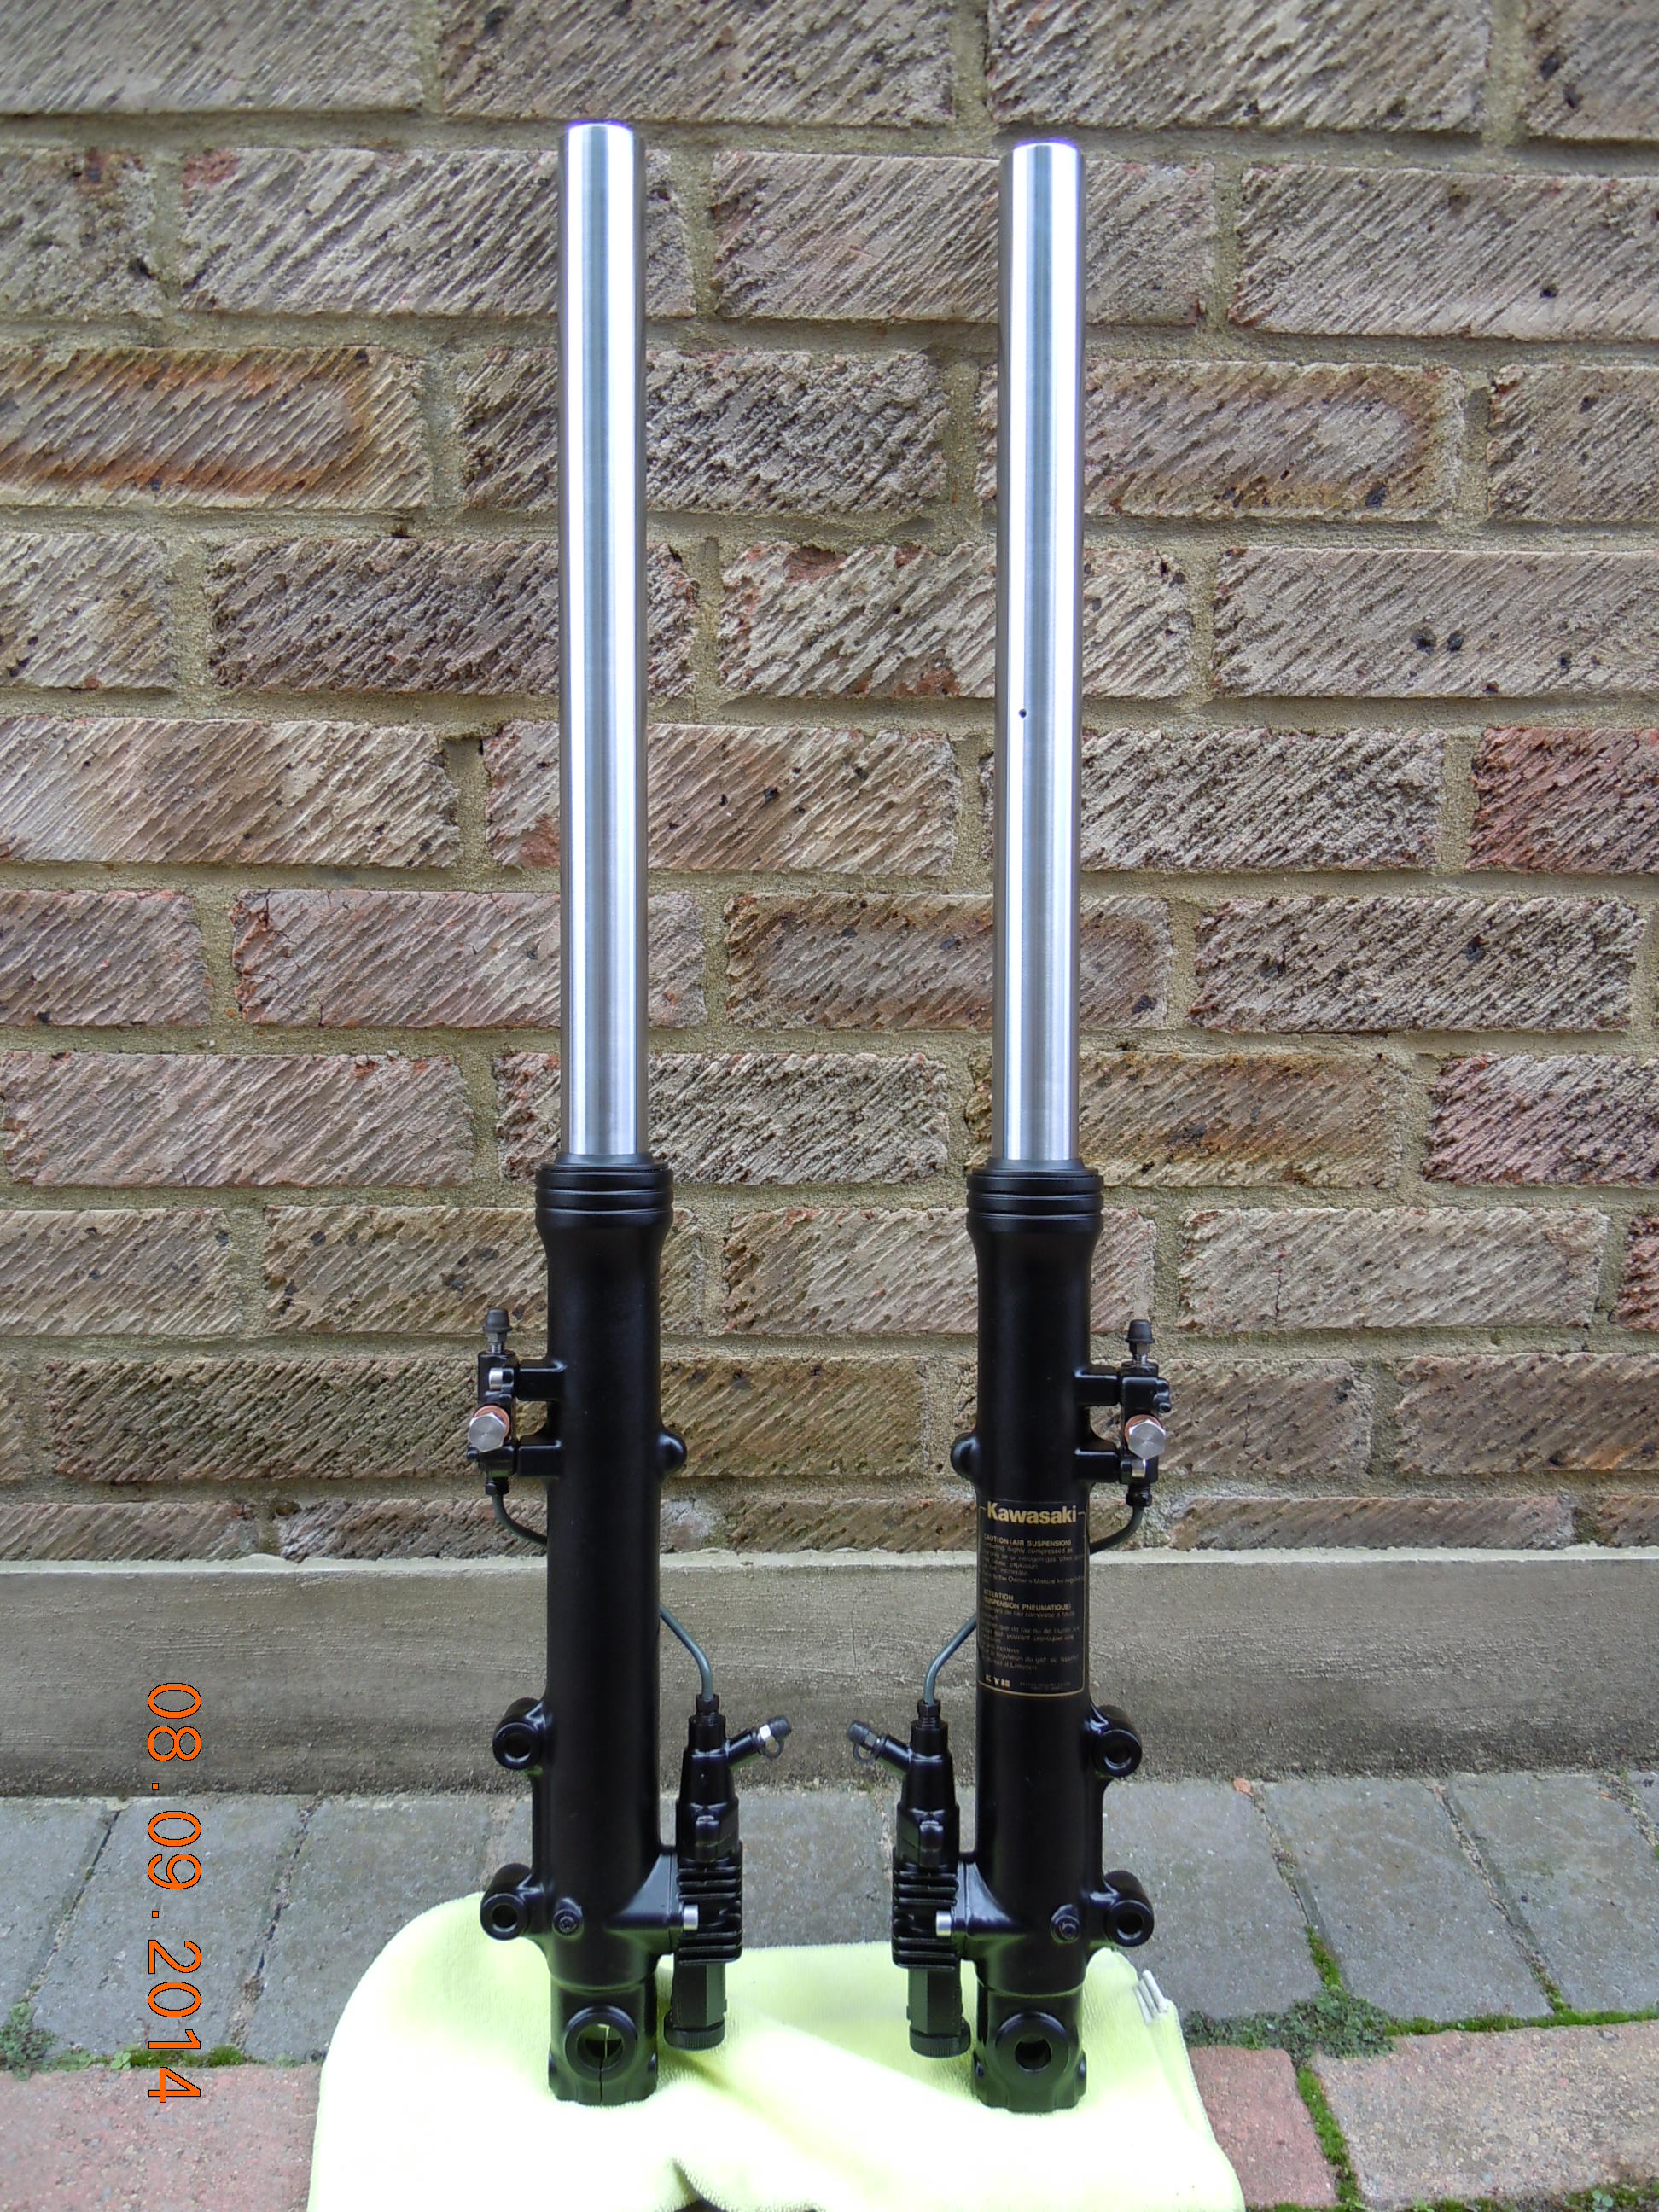
Then Adrian turned his attention to the front forks which were completely stripped and rebuilt with new bushes and seals all round. This work included refurbishing the Automatic Variable Damping System (AVDS) anti-dive system – an additional seal was specially made for each unit as shown below as this part was inexplicably missing from the AVDS re-seal kit.
The rear suspension (Uni-trak) was in pretty good condition (seals and piston not leaking or pitted/corroded respectively and the unit held it’s air pressure) so was simply cleaned up and re-painted.
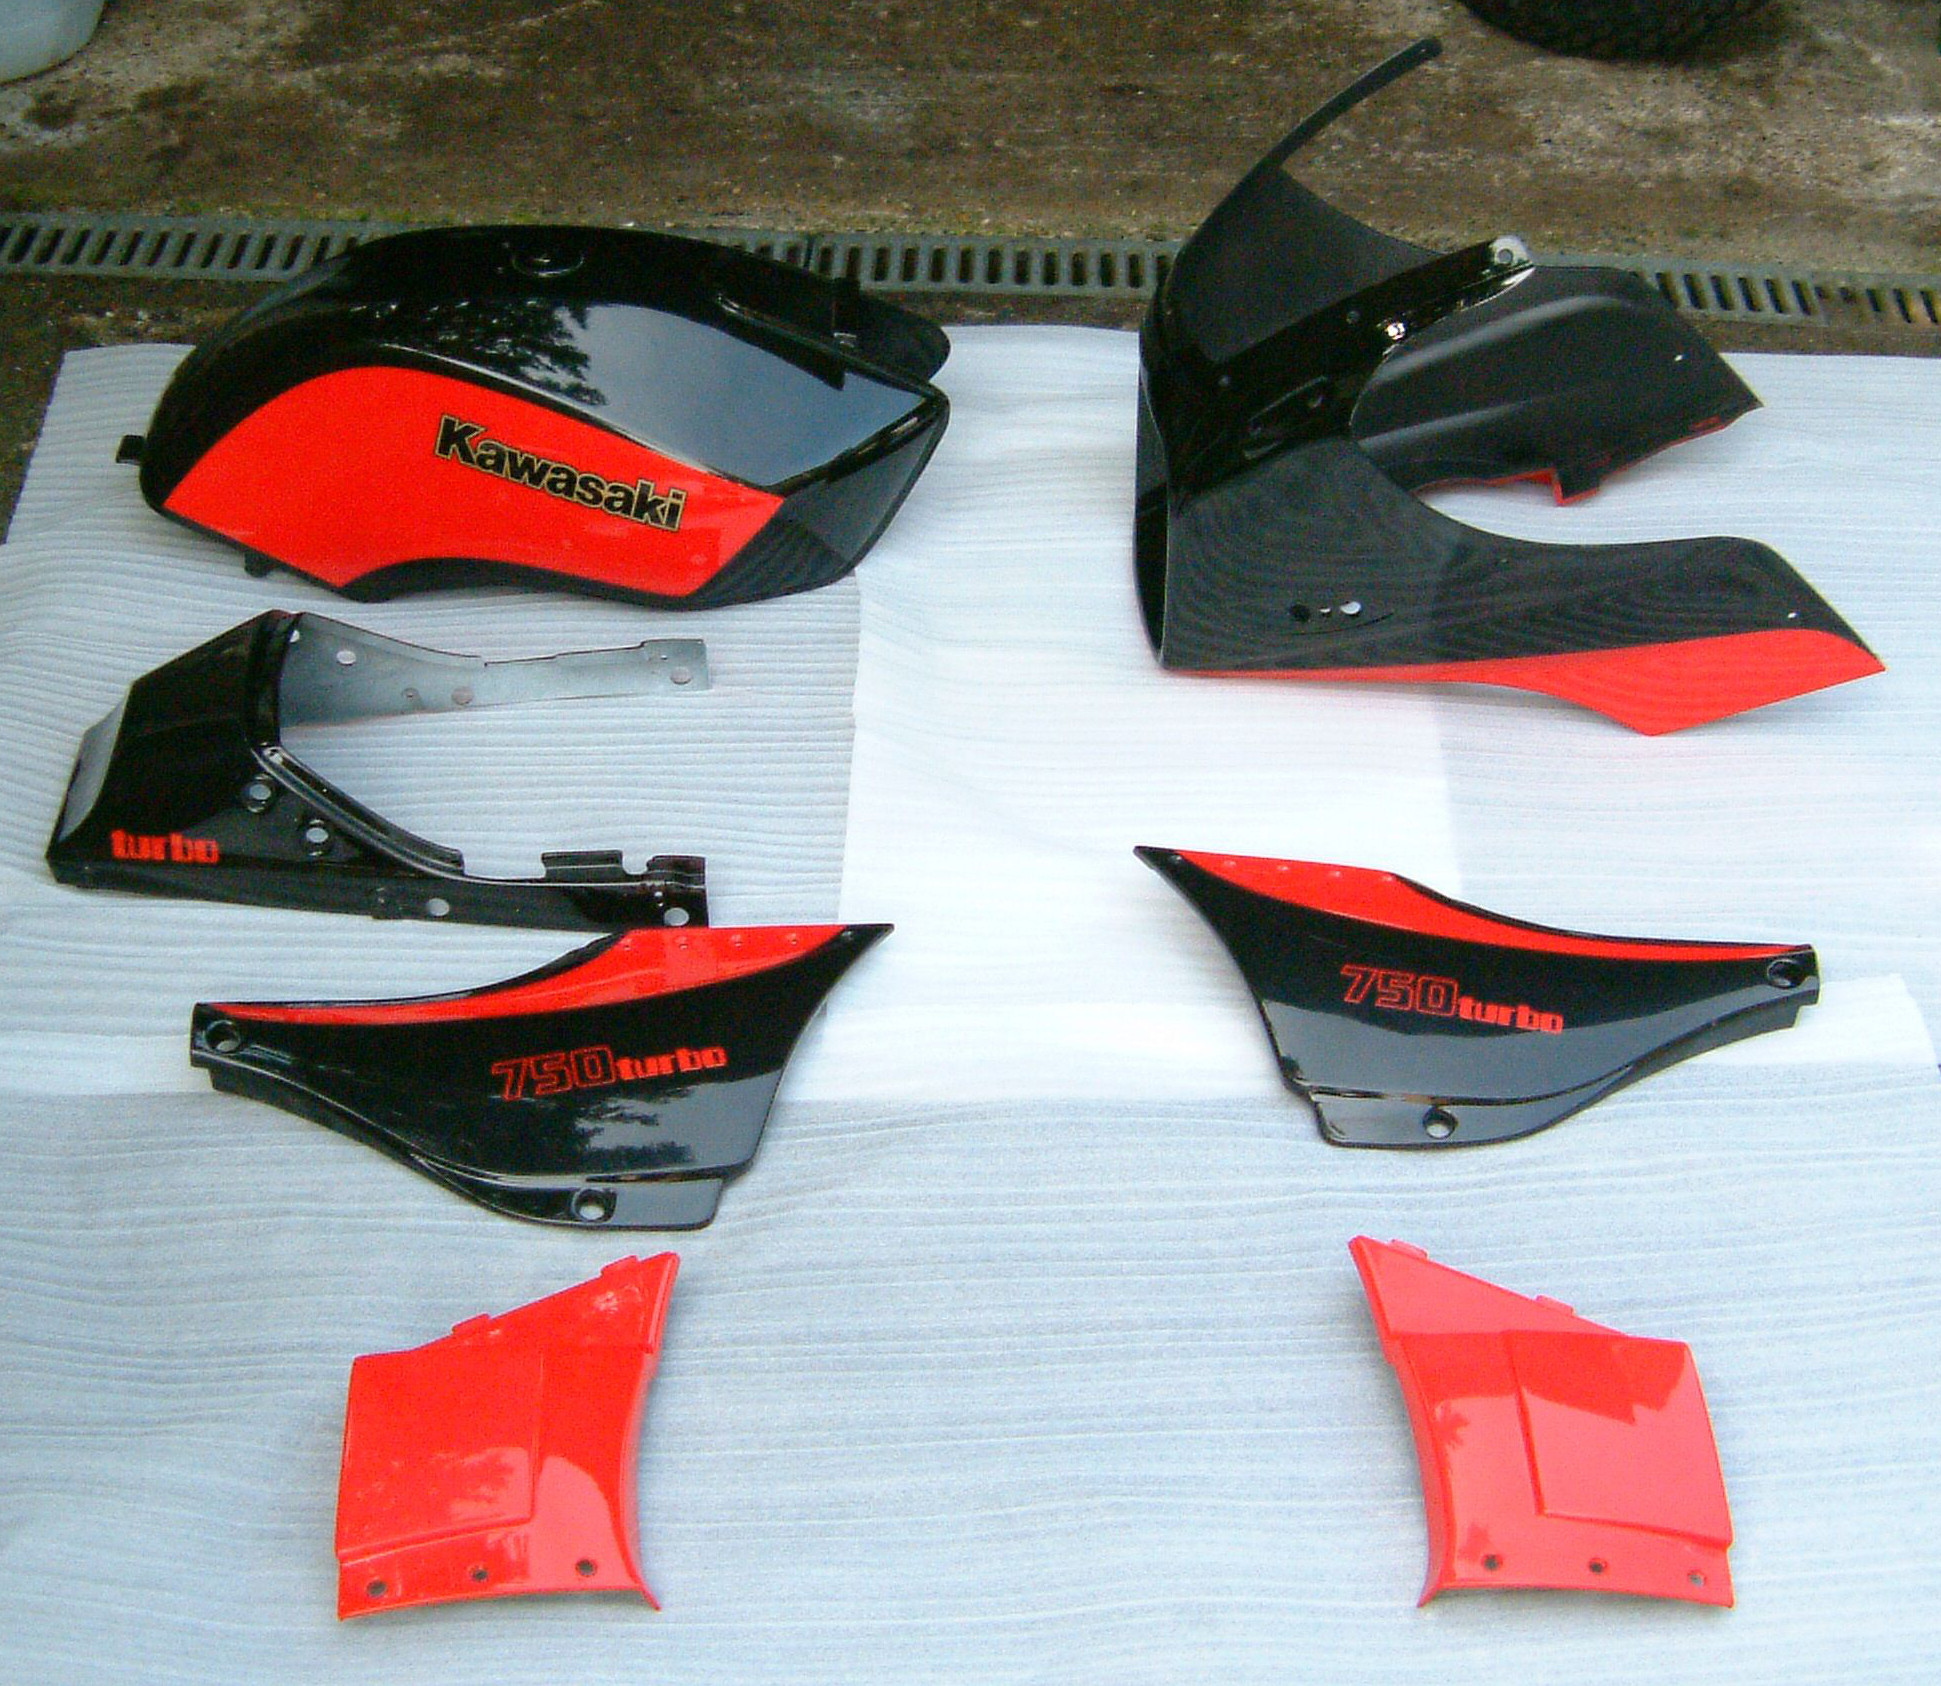
The bodywork was resprayed by Image Design Custom to Kawasaki’s original colour scheme.
Electrics
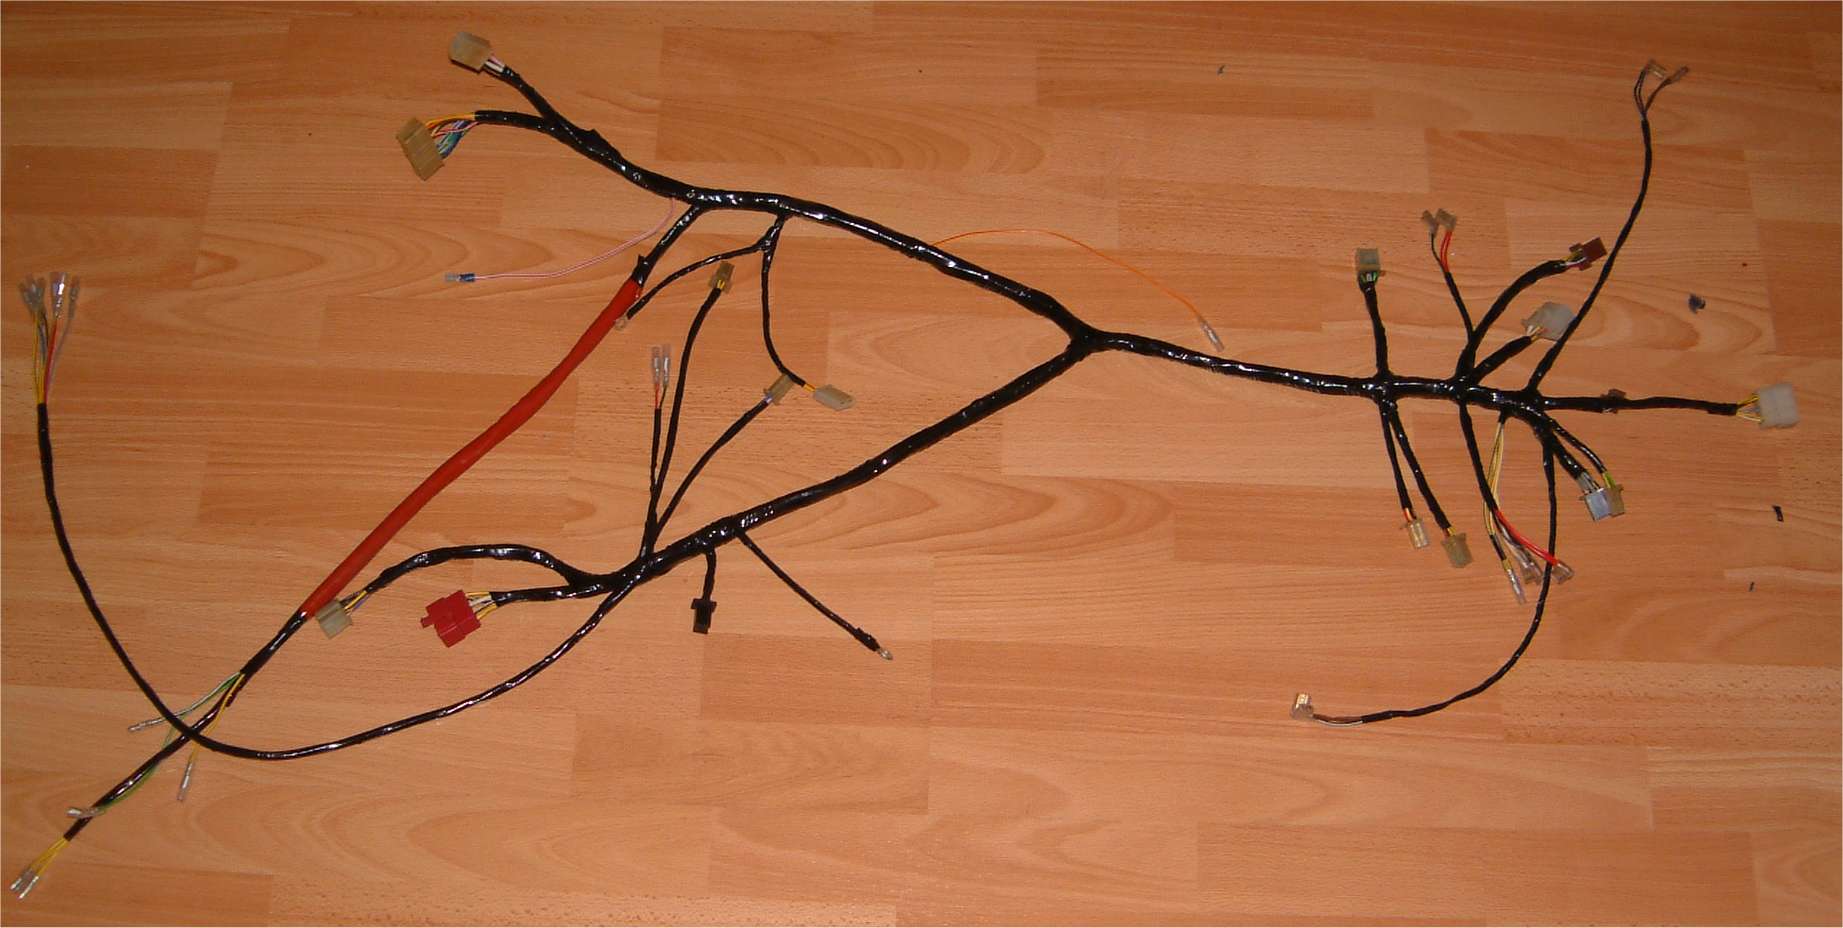
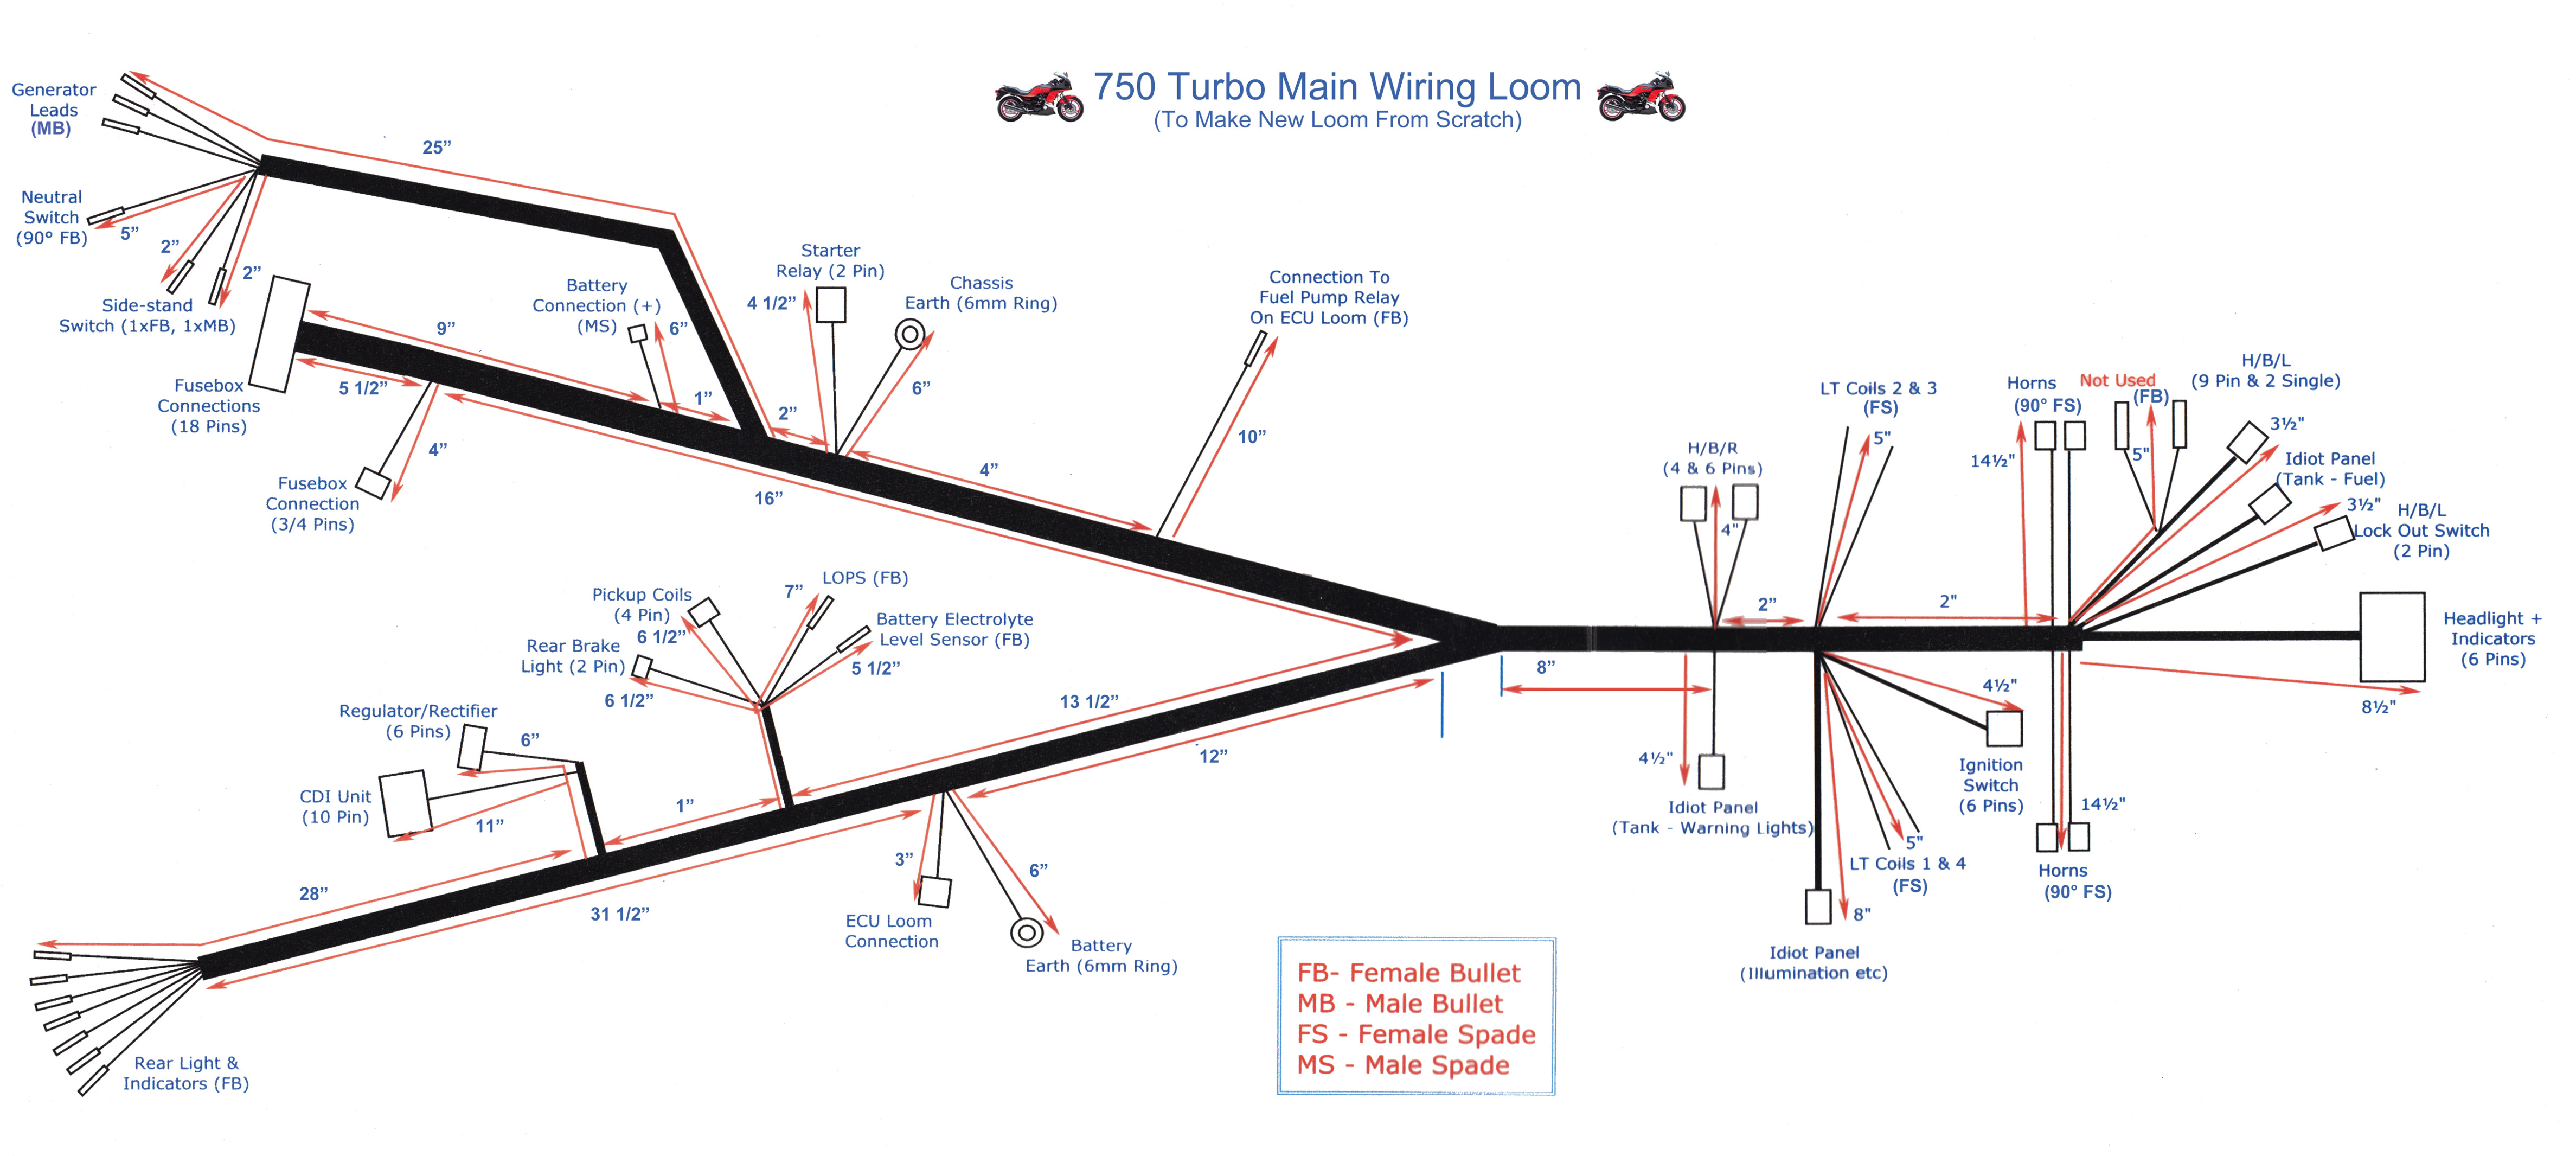
The original wiring loom was only fit for the bin with signs of a battery fire having taken place at some point and insulation so brittle that it would fall off as soon as soon as the loom was moved. Enquiries made to Kawasaki were fruitless as they no longer supplied replacement looms for this model.
Happily for Adrian, he can count an aircraft electrician amongst his friends and together they decided that they could build a new loom using the original as a pattern. Once the wire specifications were identified and the materials purchased, a peg board was constructed using the old loom and copious notes taken on pin configurations and colour locations. Once he was sure that everything was accurately recorded, Adrian stripped the loom. Incredibly, it then took only two weekends to reconstruct the loom and fit it to the bike!
Top-tips
It always helps when working on projects like this to be able to repair components that can no longer be bought. A prime example from this build is the throttle position sensor (TPS) where Adrian devised a means of repairing this item using a variable resistor. He has written documentation describing in detail how to perform this work. Please note that this is something that Adrian did out of curiosity to see if it could be done by the home mechanic and to help out people with bikes that need a TPS unit/solution to get their bikes running again. It is effectively a work in progress but you can obtain the latest available version of this documentation by contacting editor@oilysmudges.com.
When you run any classic, it’s good practice to be constantly on the look out for any spares you might need. Adrian favours eBay and recently added new old stock (NOS) boost and mass airflow sensors to his stock of spares from this source.
Special tools
A quality set of spanners will get you so far but some tasks require special tools to avoid damaging parts or to make precise adjustments. At other times, inspiration will strike and you’ll make your own.
Off-the-shelf tools successfully used during this project include:
- Clutch holder (genuine Kawasaki)
- Oil pressure gauge kit and compression gauge kit (MAC Tools)
- Strobe lamp / timing light (Snap-On Tools)
- Vacuum gauges (Carbtune II)
- Valve spring compressor (Britool)
- Tune-up plug (Gunson Colortune)
For working on the forks, Adrian made a damper holder for the 19mm diameter (460mm long) drive in the top of the damper control rod and a fork oil-level tool to ensure both forks have exactly the same air-gap.
Recognition
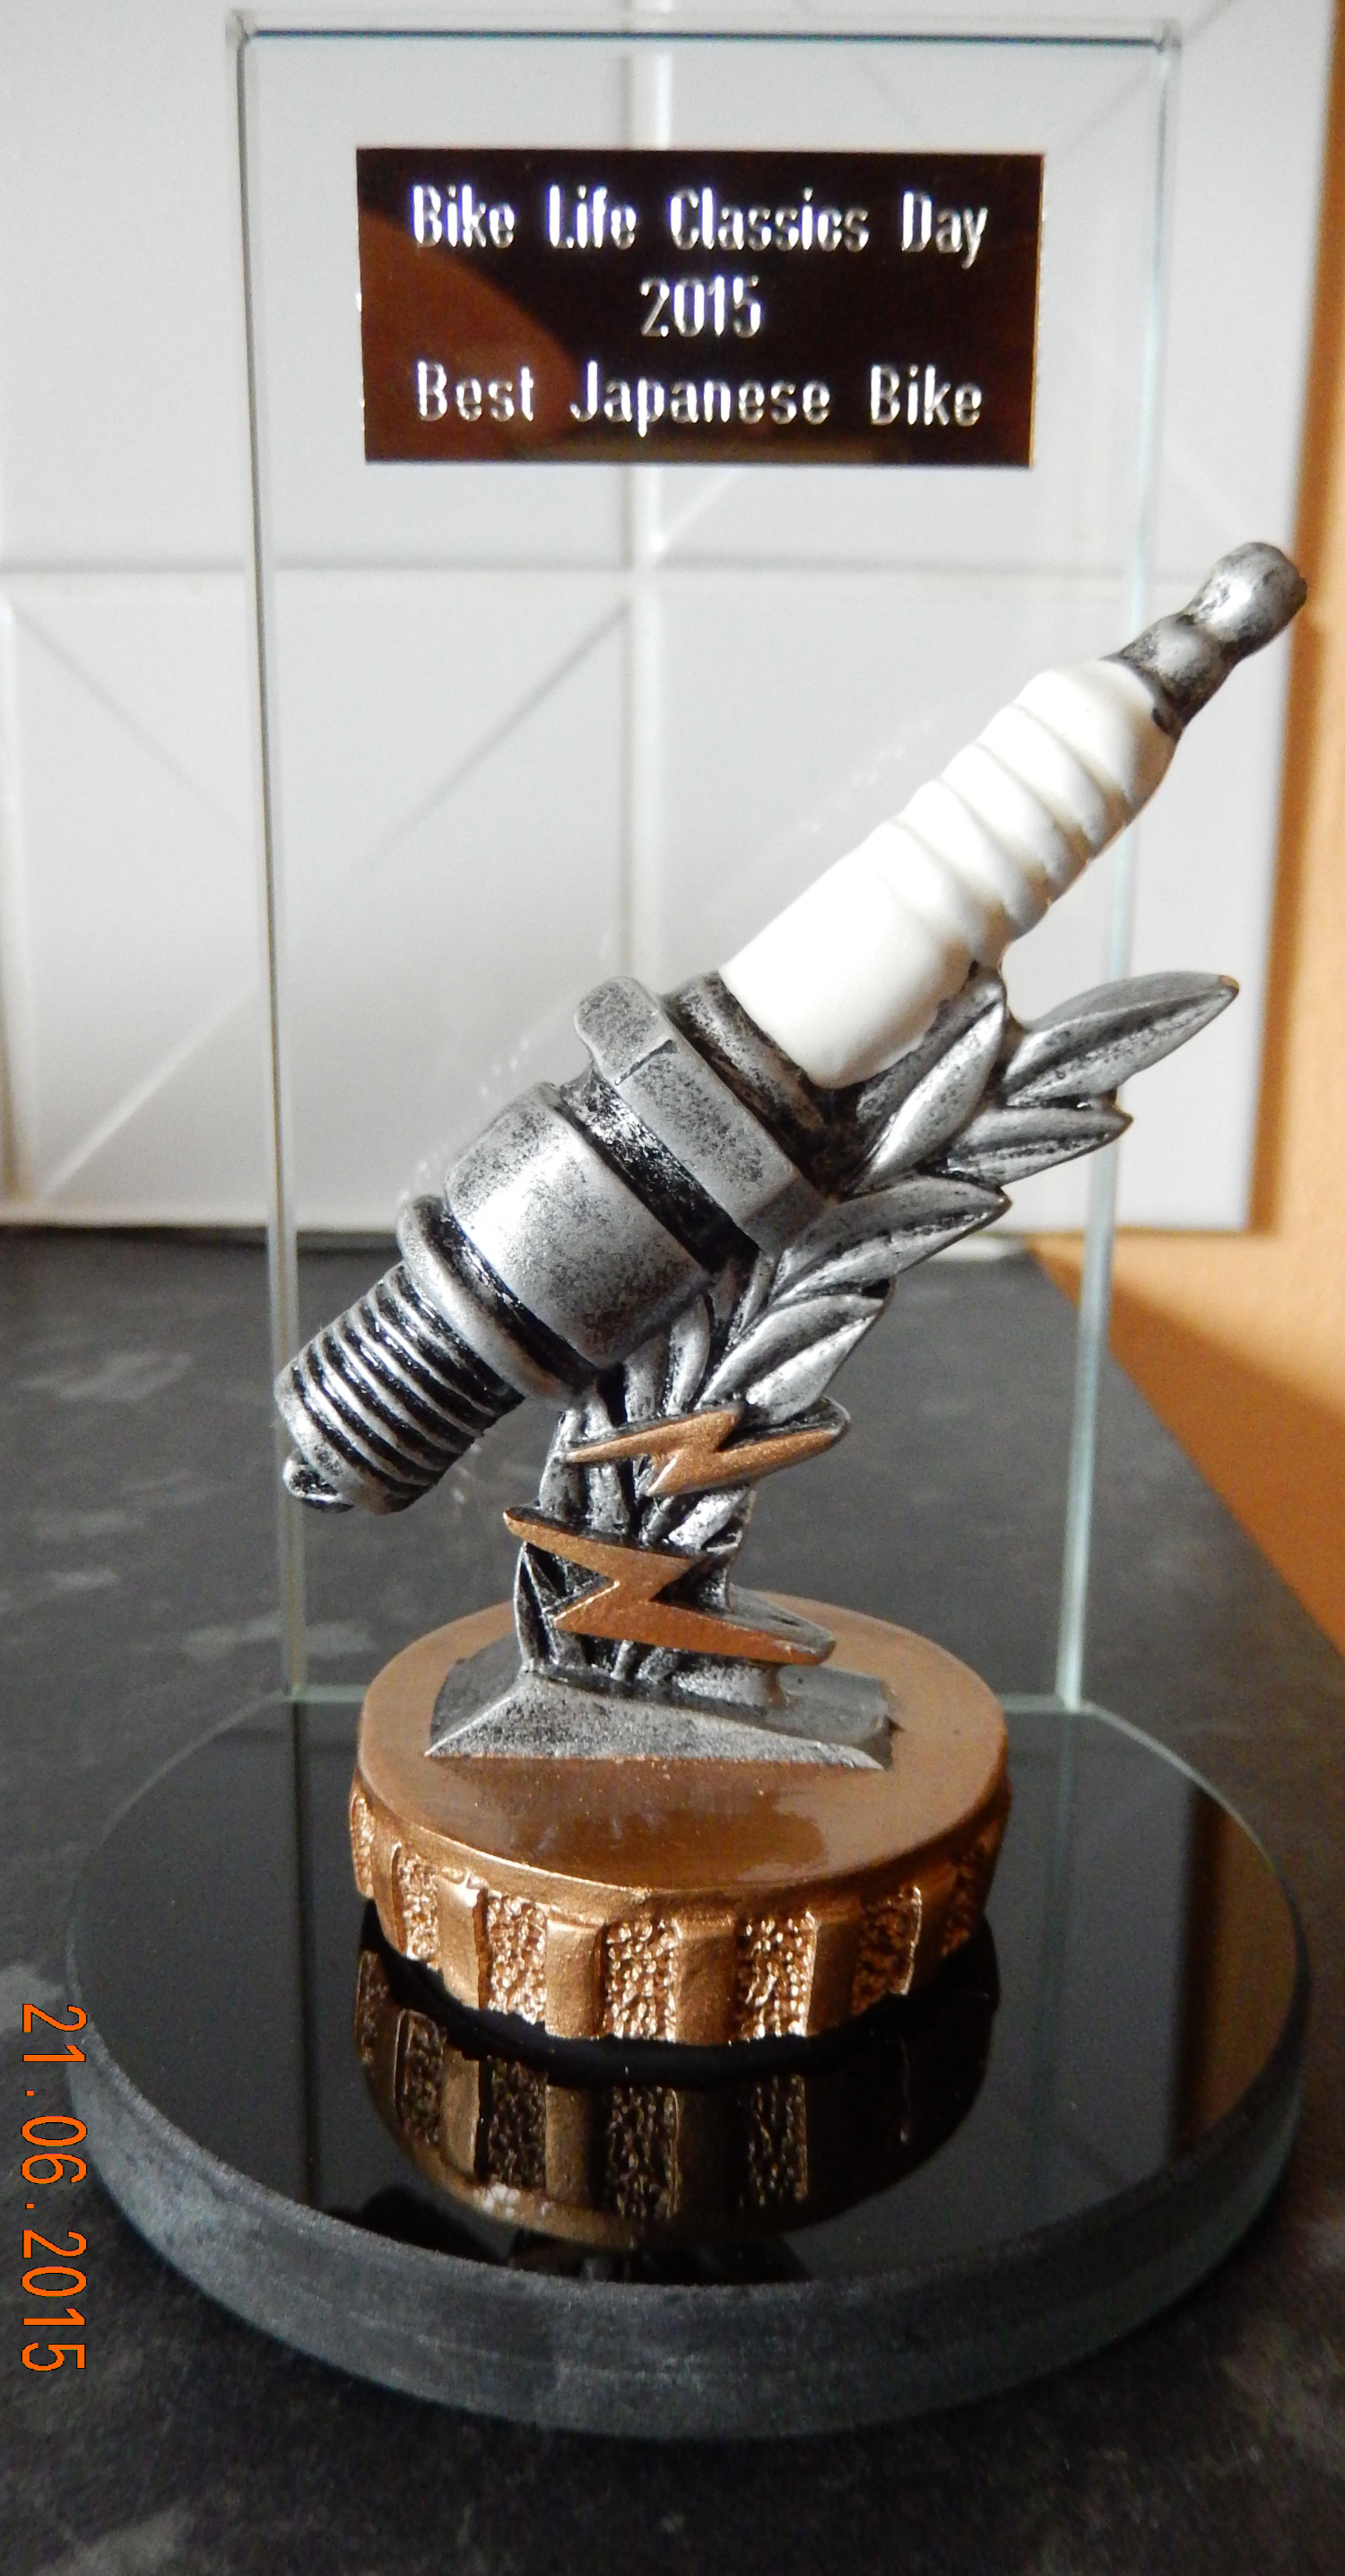
Adrian’s hard work was recognised when he took it to a Bike Life Classics event held at Sammy Miller’s Museum in 2015 where this bike won the award for “Best Japanese Bike”.
What are you waiting for?
If you would like to see the fruits of your labours on this site, submit your details and we’ll be in touch.


